µCMM
Liên hệ
- Vận chuyển giao hàng toàn quốc
- Phương thức thanh toán linh hoạt
- Gọi ngay +84 978.190.642 để mua và đặt hàng nhanh chóng
MÔ TẢ SẢN PHẨM
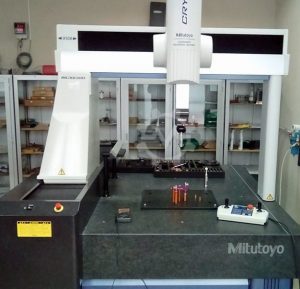
Optical coordinate measuring machine (CMM) for small surface details on large components with highest precision
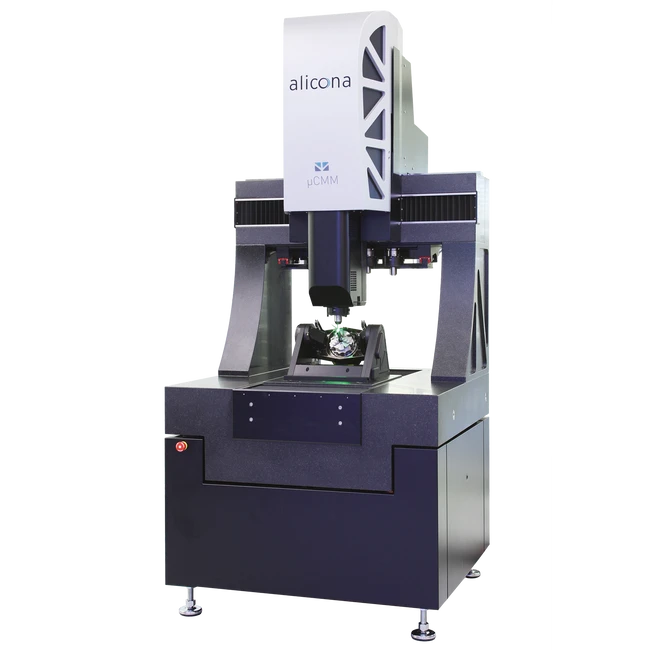
µCMM, the first purely optical coordinate measuring machine, is used to measure extremely tight tolerances in high accuracy. Users combine advantages from tactile coordinate measuring technology and optical surface metrology:
- measurement of dimension, position, shape and roughness with only one sensor
- high accuracy over the entire measurement volume
- non-contact, optical coordinate measurement with Focus-Variation
- suitable for matte to highly polished components
- easy handling
- wear-free, robust and suitable for production

The optical measuring machine offers high geometric accuracy of several optical 3D measurements in relation to each other, enabling the metrology of small surface details on large components and precisely determining the position of these individual measurements in relation to each other. The spectrum of measurable surfaces includes all common industrial materials and composites such as plastics, PCD, CFRP, ceramics, chrome, silicon.
Simple operation is implemented by single-button solutions, automation and ergonomic control elements such as a specially designed controller. Air-bearing axes with linear drive enable wear-free use and highly accurate, fast measurements. This makes the μCMM the ideal coordinate measuring system for permanent use – also in production.
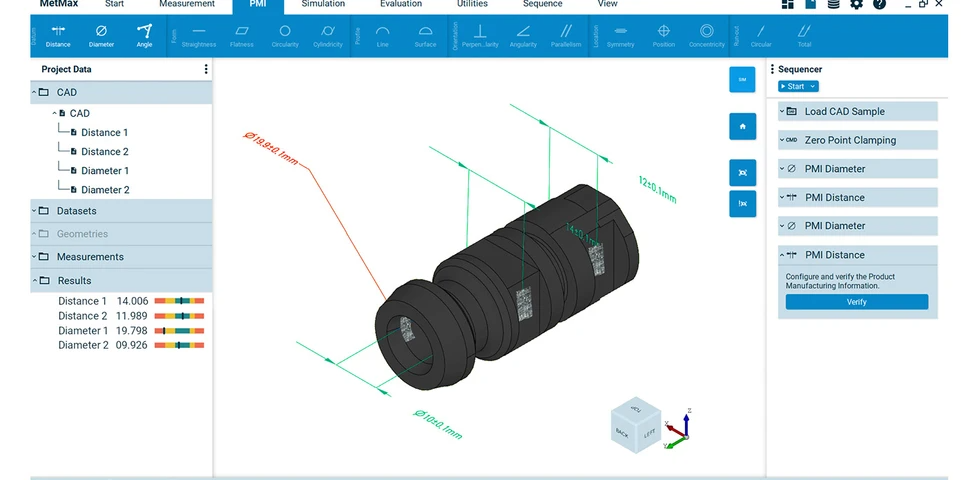
MetMaX: “What do I measure?” not “How do I measure?”
This is the core thinking behind MetMaX, the µCMM operating software. Thanks to this evolution, users do not need any specific metrology knowledge to perform robust measurements with the µCMM coordinate measuring machine. MetMaX contains all the necessary knowledge on how to acquire and evaluate 3D data.
Pick & Place: µCMM automation solution
The μCMM can be extended with a collaborative robot arm to a complete Pick & Place solution. Users thus achieve automatic placement, measurement and sorting of components (OK/not OK) in production. The possible connection to existing production systems including ERP facilitates adaptive production planning.
![]()
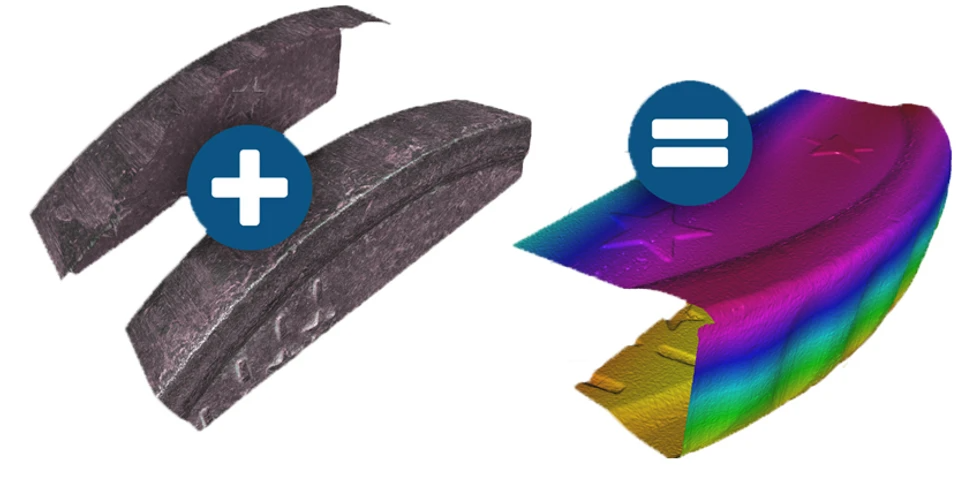
Full form measurement with Real3D
With Real3D, users realize complete geometry measurements of complex component geometries. Furthermore, the technology enables the analysis of complex profiles and measurement of flat and curved components as well as the verification of form deviations.
| Measurement principle | non-contact, optical, three-dimensional, based on Focus-Variation incl. Vertical Focus Probing technology | |
| Number of measurement points | single measurement: X: 1720, Y: 1720, X x Y: 2.95 Mio. multi measurement: up to 500 Mio. | |
| Positioning volume (X x Y x Z) | 310 mm x 310 mm x 310 mm = 29 791 000 mm³ | |
| Travel speed of axes | up to 100 mm/s | |
| Coaxial illumination | LED coaxial illumination (color), high-power, electronically controllable | |
| System monitoring | 9 temperature sensors (accuracy: ± 0.1 K), 3 vibration sensors, internal current and voltage monitoring, incl. long-term logging, retrievable | |
| 3D Accuracy 10360-8 | EUni:Tr:ODS,MPE = (0.8 + L/600) μm (L in mm) Axis accuracy based on ISO 10360-8. EUniZ:St:ODS,MPE = (0.15 + L/50) μm (L in mm) Valid for single measurements, height step measurements. |
| Objective | 3000 WD8 | 1900 WD 30 | 1500 WD23 | 1500 WD70 | 800 WD17 | 800 WD37 | 400 WD19 | 150 WD11 | ||
| Working distance | mm | 8.8 | 30 | 23.5 | 69,4 | 17.5 | 37 | 19 | 11 | |
| Lateral measurement range (X,Y) | mm | 5.26 | 3.29 | 2.63 | 2.63 | 1.32 | 1.32 | 0.66 | 0.26 | |
| (X x Y) | mm² | 27.64 | 10.8 | 6.91 | 6.91 | 1.71 | 1.71 | 0.43 | 0.06 |

Đánh giá
Chưa có đánh giá nào.