With upwards of 70 million Electric and Hybrid Vehicles (EVs) predicted to be in operation by year 2030, automotive OEMs and their suppliers are racing to develop the next generation of more efficient and affordable electric cars, trucks and buses.
Delta Research, a Livonia, Michigan producer of high-precision gears, gearboxes and transmission components is deeply immersed in the efforts of many of the world’s leading OEMs to develop EV transmission gears that improve overall efficiency and, most importantly, optimize acoustics.
“It’s the quest for quieter gears that’s driving development of a new class of very high quality transmission gears with mirror-like finishes that reduce wear and vibration — and adding greatly to the workload of a very busy Delta Quality Lab,” says Delta Research Vice President of Operations Tony Werschky. “Prototype gear development relies heavily on metrology equipment, and never more so than with these new gears requiring very high precision mirrored flanks,” he says. “As we were planning our actions for expanding capacity of advanced inspection capabilities for gears, we found a practical and cost effective solution from Gleason Metrology Systems.”
Inspection ‘Workhorses’ Running Like New
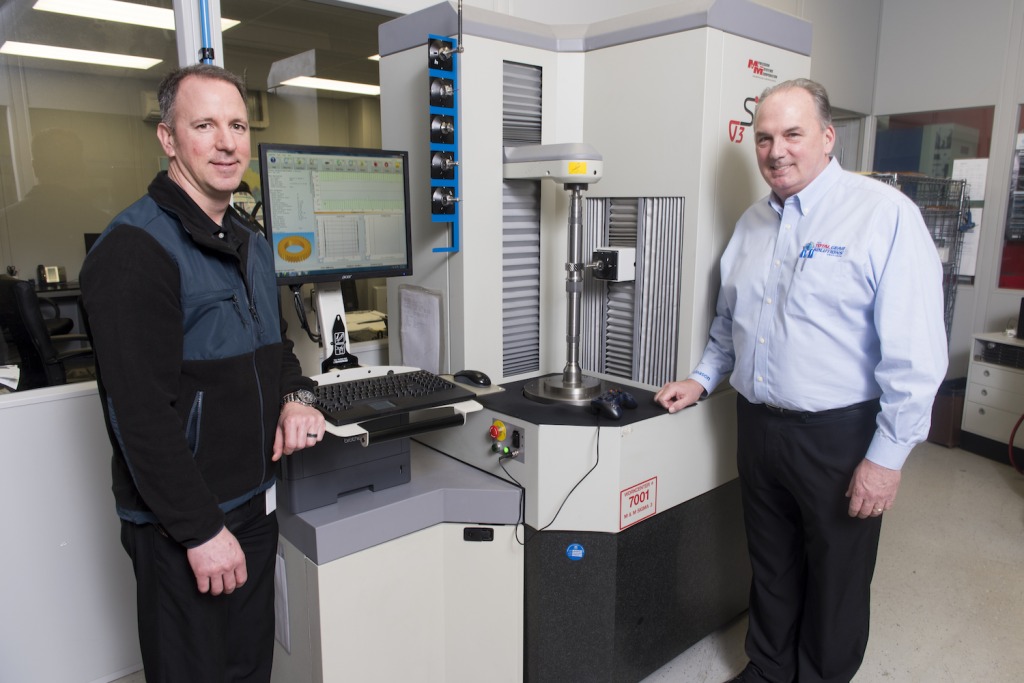
Gleason Regional Sales Manager Metrology Products Americas Dave Taylor proposed that Delta could save significantly on new equipment costs, and add capabilities more quickly to its Quality Lab, by simply upgrading Delta’s existing two SIGMA 3 gear inspection systems to like-new condition. These Gleason machines, built in 2005, were still in everyday use but limited primarily to the routine inspection requirements of production parts.

“In fact, one of the SIGMA machines had been dedicated for years to inspecting just a single part that’s produced in high volumes,” recalls Taylor. “This short, highly repetitive motion had begun to produce some wear and tear on the X (radial) and Z (vertical) axes after years of heavy use, further limiting its effectiveness. Nonetheless, these two machines were prime candidates for an upgrade program that would add important capabilities and functionality on par with our current generation GMS systems. Delta saw the potential, and gave us the green light.”
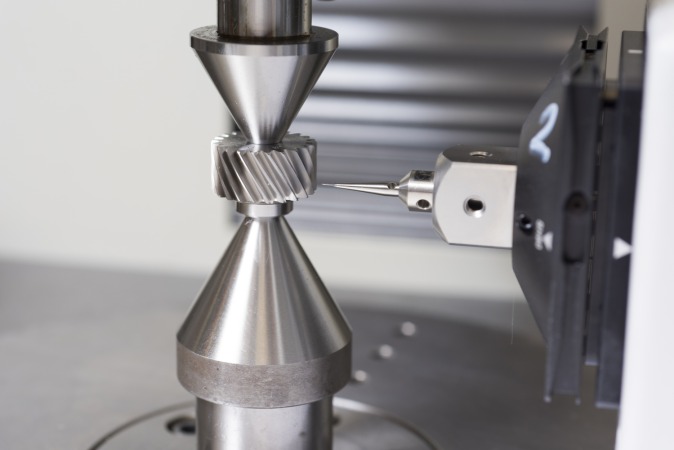
Over the course of about four weeks, Gleason service personnel completed the upgrade program. For the SIGMA machines, this meant installing an SP80H Renishaw fully digital 3-D scanning probe system and all associated hardware, combined with installation of Gleason’s latest GAMA suite of applications software and Windows system, thus bringing the SIGMA machines to the current level of applications software and probing system found on the latest generation of Gleason GMS machines.
Additionally, the guideways for the X and Z axes for the one SIGMA described previously were returned to Gleason Metrology Systems’ facility in Dayton, OH, where they were re-ground, inspected in-house and returned in like-new condition. The existing machine base, sub-assemblies, mechanical components, drives and motors on both SIGMA machines were inspected, determined to be in good working order and did not require replacement or major refurbishment. The controllers were upgraded in order to run the new GAMA suite of software, and a Flat Screen Monitor was added.

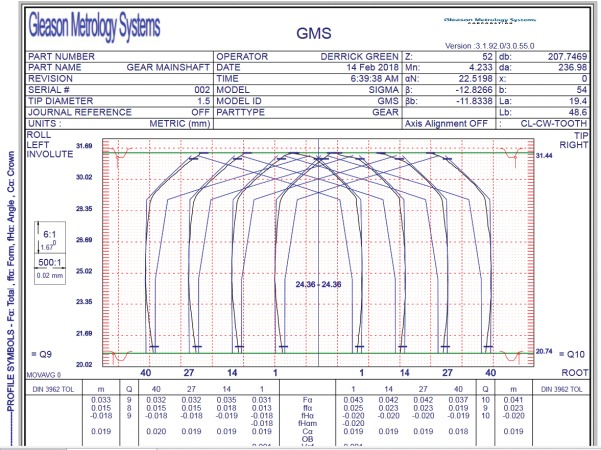
“It’s like having a new machine — we now can do things with the SIGMA machines that would have been impossible before,” says Werschky. “The new probe system, along with the added GAMA software makes it easy to change over and apply a broad range of styli to do everything from root scans to tooth contact analysis to unknown gear checks to inspection of hobs, shaper cutters — even straight bevel gears. We even have the capability now to do surface finish inspection. But it’s the GAMA software package that really makes the difference. Our operators have found it to be very easy to use, and we now have the capability to quickly and easily output data to conform to all the international industrial standards (AGMA, DIN, ISO, JIS, GOST) as well as utilize the many custom analysis packages developed by Gleason for leading gear OEM’s.”
With the addition of GAMA’s GearNet feature, both machines now can share a common database of part programs and inspection history, eliminating the time-consuming duplication of programming on two machines.

Werschky says that a day or two of training was all it took for his operators to begin using GAMA and performing gear inspections. The highly intuitive, point-and click Graphical User Interface makes it much easier to create new programs, and the operator is aided throughout the gear inspection with an information panel that displays all pertinent information on the workpiece and type of inspections being performed as well as dynamic, real-time charts that depict index, lead, and involute tests as they progress.
“Not every OEM is around to adequately service their older machines, let alone offering such an effective way to extend their useful life,” concludes Werschky. “The Gleason upgrade solution nicely fills the gap between the limitations of older machines, and the significantly higher cost of brand new machines.”
For more information: www.delrecorp.com
Tags: 3d vina, hiệu chuẩn, hiệu chuẩn thiết bị, máy đo 2d, máy đo 3d, máy đo cmm, sửa máy đo 2d, sửa máy đo 3d, sửa máy đo cmm, Upgrades to Gear Metrology Workhorses Meet Latest EV Development Requirements
