The latest SMARTTECH3D photogrammetry solution has application in many industries, including shipbuilding, aviation, automotive, and energy to verify dimensions. Measurement data can be used to analyze shape after transporting or moving the object, check the accuracy of matching elements, analyze the impact of load or other external factors on the material, as well as control the consistency with documentation, and identify damages to repair.
SMARTTECH3D Photogrammetry can also be useful when measuring building interiors such as for project design purposes.

Photogrammetry is based on high-quality photos of the measured object made with the use of specially designed markers and scale patterns. This means that in the first stage of the process the user places self-adhesive or magnetic markers on the object along with the scale patterns. The second stage involves taking from a few to several dozen photos from different perspectives, depending on the size and complexity of the shape of the object. The collected data is converted by the SMARTTECH3Dmeasure software and transformed into a map of markers. It can be used for point-by-point measurements where this amount of data is sufficient or as a basis for further work with the 3D scanner and detailed quality control. In this situation, for further analysis, the user can perform 3D scans that will automatically adjust to the marker map.
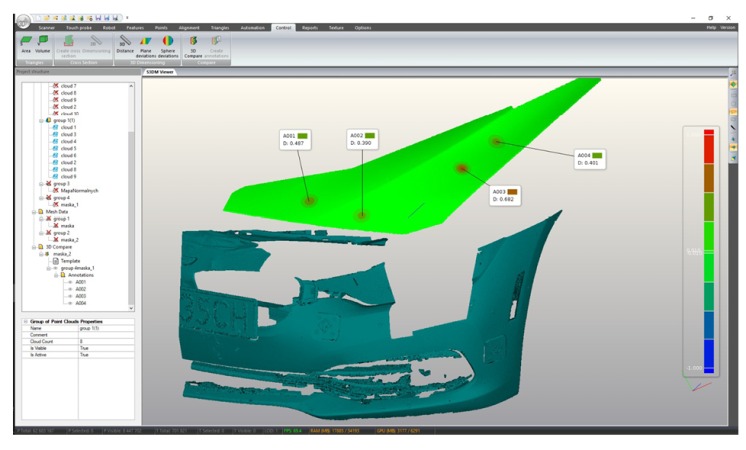
The advantages of the system are particularly visible when it is used as an additional module for SMARTTECH 3D scanners. The metric marker map, created using photogrammetry, is compatible with point clouds from SMARTTECH 3D scanners. All data is placed in one coordinate system, which makes it possible. This enables comprehensive quality control of the entire large-size object (marker map) and detailed analysis of the selected fragment (3D scan). All these functions are combined by the SMARTTECH3Dmeasure software, which, apart from the full integration of all measurement data, also provides the possibility of carrying out further quality control processes based on the CAD model with the display of a colored deviation map on the object for easy and quick verification of places deviating from the established requirements.
The SMARTTECH3D Photogrammetry system complies with the VDI / VDE 2634 standard. It is characterized by high accuracy of 92 microns and can be used to measure objects up to 20 m in size. Dark color of an object’s surface is not an obstacle to the operation of the SMARTTECH3D Photogrammetry system. It is also very comfortable to use with a low weight of 5 kg, and reliable thanks to shock resistance and large temperature fluctuations resilience. It can be successfully used not only indoors, but also outdoors in sunlight.
The set offered by SMARTTECH includes all the elements necessary to perform the measurement, such as a calibration plate, scale matrix, and two types of markers, as well as special software and a dedicated digital camera with a flash lamp, that ensures the correct photogrammetric photos taking.
For more information: www.smarttech3d.com
Tags: 3d vina, hiệu chuẩn, hiệu chuẩn thiết bị, máy đo 2d, máy đo 3d, máy đo cmm, SMARTTECH3D Launch Photogrammetry System for Large Objects Measuring, sửa máy đo 2d, sửa máy đo 3d, sửa máy đo cmm
