Portable measuring equipment has had a meteoric rise in its role supporting the various aspects of manufacturing over past decades including the applications of reverse engineering, prototype part inspection, low volume production measurements, tooling and fixture inspection and alignment, interrogation of product quality issues and many others. One significant characteristic of all portable measuring equipment is its ability to be used readily at the ‘point of production’ thereby allowing the respective technology to perform a reactive ‘walk-up and measure’ role in manufacturing plants.
With the coming of Industry 4.0 Smart Factories the critical role portable measuring equipment performs currently in manufacturing is too often overlooked with all the talk of fully automated closed loop manufacturing.
Portable measuring equipment is, in the main, manually operated and thus appears to be completely at odds with the predicted future of advanced automated manufacturing – with fully integrated process control metrology. Or is it?
While higher volume production products may get the ‘smart factory’ adaption will this really be the case for lower volume manufacturing, specialized build, and the manufacturing of the many commonplace larger physical products? Some of the principles of smart manufacturing will certainly carry over but these are more likely to be individual manufacturing cells, automated processes or discrete operation based rather than the complete part manufacturing process being automated. The use of traditional hand-tools, such as micrometers and calipers, have not been eradicated by automated part inspection performed by tactile coordinate measuring machines (CMM), so why would portable measurement products fail to continue-on in their current effective measuring roles?
Portable Measuring Arm
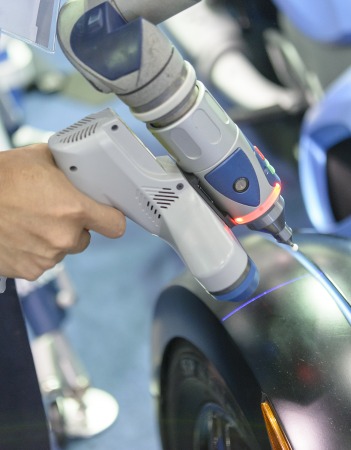
 The portable measuring arm CMM remains a ‘go-to’ product for many inspection applications given its versatility, portability and robustness for use on the production-floor. Originally developed as a manual CMM replacement, that negated the need to take parts to the lab for inspection, the portable measuring arm has in recent years transitioned its role and adapted successfully to 3D laser scanning. Portable scanning arms allow point cloud data generation, complete with full CAD analysis. The ‘need for speed’ to verify during manufacturing equipment installation, along with ongoing trouble-shooting of manufacturing quality issues, will not be fully eradicated by the ‘expectation’ of the smart factory.
Laser Tracker
![]() The role of the laser tracker, in large volume measurement, in supporting lower volume manufacturing, and the alignment and inspection of tooling, fixtures and equipment remains critical to many industries. The latter laser-tracker role will certainly increase as smart factories are built and production equipment aligned to each other with increased precision.
The role of the laser tracker, in large volume measurement, in supporting lower volume manufacturing, and the alignment and inspection of tooling, fixtures and equipment remains critical to many industries. The latter laser-tracker role will certainly increase as smart factories are built and production equipment aligned to each other with increased precision.
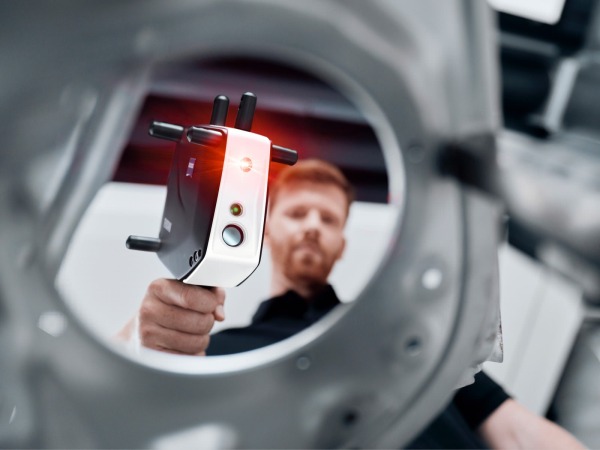
The laser tracker has also increased its role, from its original SMR usage, to being remotely integrated with hand-held tactile probing and laser scanning accessories allowing full 3D geometry mapping of low volume manufactured parts at their point of production.
Optical 3D Scanners
 Generating surface geometry of manufactured parts with 3D point-cloud software, using hand-held portable scanners, has seen a huge uptake over past years, with an ever increasing range of scanning products and metrology software functionality arriving on the market. The ability to generate digital twins to support manufacturing processes where set-up requires numerous iterations and ‘tweaks’, will ensure that the role of these technologies will not diminish – and in all probability dramatically increase. With little to no set-up, or upfront programming mandated, portable scanning provides information rich data almost instantaneously and its generic application providing a one solution scenario for a wide range of applications. In addition to reverse engineering, rapid prototyping and design development application roles 3d scanners will also increase there critical roles as product life cycles reduce and the number of product variants and product permutations increase – as predicted with the Industry 4.0 concept.
Hunger for Problem Solving Data
 Access to fast part measurement data is critical in the management of any manufacturing process. Unexpected quality issues will always occur regardless of sophistication of the manufacturing process and its integrated measurement practises.
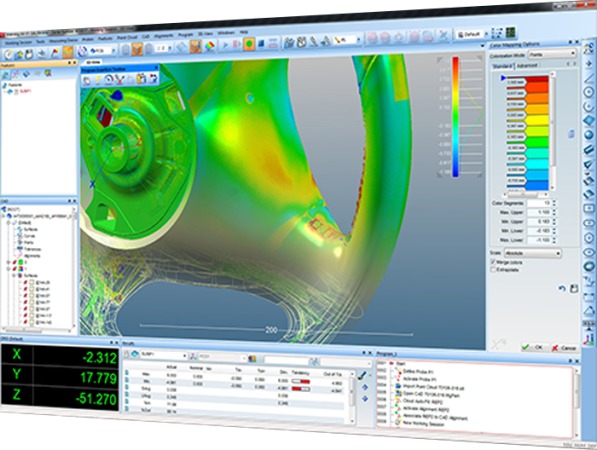
Portable measuring hardware provides the immediate reaction equipment which, when integrated with powerful metrology software, provides almost immediate and impactful analysis of part variations allowing rapid action plans to be formulated and executed.
Leading software’s have in recent years become universal measurement solutions allowing a ‘one-software’s approach regardless of portable hardware solution used for the measurement task at hand allowing for the universality of measuring technician skill-sets.
Will Portable Measuring Equipment Survive Industry 4.0?
Portable metrology will not only survive Industry 4.0 but continue to flourish increasing its role and presence in the advanced manufacturing operations of the future. While ‘headline news’ continue to focus on the upcoming manufacturing revolution the reality is that manufacturing, and its processes, will never be perfect and hence the role for portable measuring solutions as a ‘go-to’ tool for supporting manufacturing operations.
Metrology 4.0 embraces automated-measurement solutions with closed loop feedback along side manual-measurement practises that allow manual intervention to overcome real-time quality issues regardless of whether process or part related.
The future remains is in your hands!
Tags: 3d vina, hiệu chuẩn, hiệu chuẩn thiết bị, máy đo 2d, máy đo 3d, máy đo cmm, Role of Portable Measurement in Smart Factories, sửa máy đo 2d, sửa máy đo 3d, sửa máy đo cmm
