EdgeMaster
Liên hệ
- Vận chuyển giao hàng toàn quốc
- Phương thức thanh toán linh hoạt
- Gọi ngay +84 978.190.642 để mua và đặt hàng nhanh chóng
MÔ TẢ SẢN PHẨM
High-resolution, fully automatic measurement of tool cutting edges in production
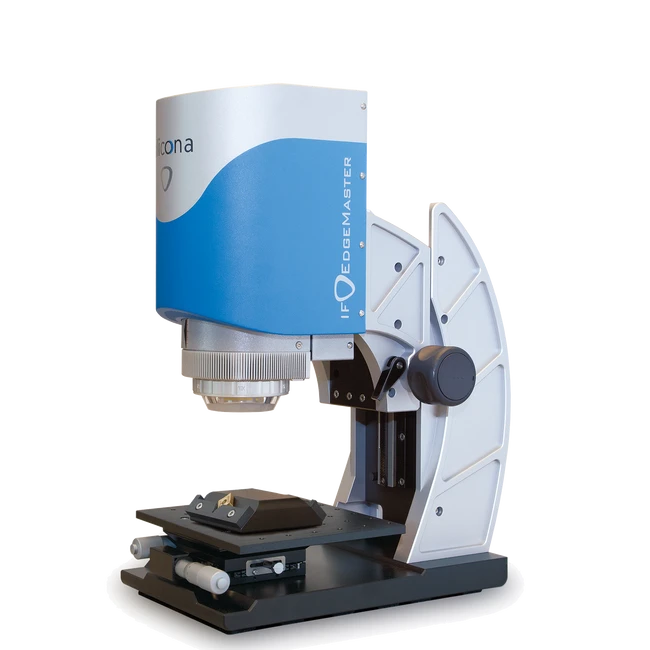
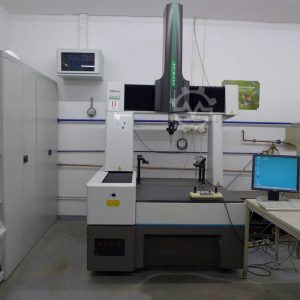
The EdgeMaster series includes the Edge Master, EdgeMasterX and EdgeMasterHOB tool measuring systems. The measuring systems are used for high-resolution, fully automatic measurement of tool cutting edges in production. Whether you use an EdgeMaster in the measuring room or on the shop floor does not change the result: The measurements are high-resolution and robust even in the presence of vibrations, extraneous light and temperature fluctuations.
With the EdgeMaster users measure radii >2μm as well as rake, wedge and clearance angle of tools. Different types, including both waterfall and trumpet, are precisely measured. Traceable and repeatable results are delivered in high vertical resolution even at vibrations, variations in temperature and ambient light. In addition to chipping measurement, the high vertical resolution also enables traceable roughness measurement on the rake face.
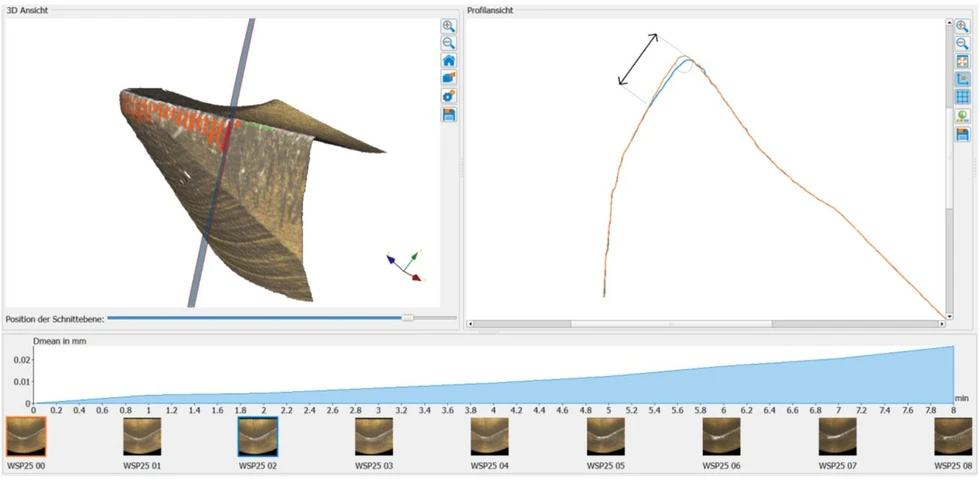
Automatic wear measurement on cutting tools
With the wear measurement module users automatically measure differential parameters and wear parameters according to ISO 8688 (Tool Life Testing in Milling), such as flank wear.
Whitepaper: Are your cutting tools competitive?
The following whitepaper shows how optical 3D form and roughness measurements can help to identify the ideal tool and machine parameters of cutting tools.
| Measurement principle | non-contact, optical, three-dimensional, based on Focus-Variation | |
| Positioning volume (X x Y xZ) | RL objectives: man.: 25 mm x 25 mm x 155 mm (Z: 25 mm mot., 130 mm man.) = 96875 mm3 | |
| SXRL/AXRL objectives: man.: 25 mm x 25 mm x 120 mm (Z: 25 mm mot., 95 mm man.) = 75000mm³ |
| Objective magnification | 10x | 20x | 50x | 2xSX | 5xAX | 10xAX | 20xAX | 50xSX | |
| Working distance | mm | 17.5 | 16 | 10.1 | 34 | 34 | 33.5 | 20 | 13 |
| Lateral measurement range (X,Y) | mm | 2 | 1 | 0.4 | 10 | 3.61 | 2 | 1 | 0.4 |
| (X x Y) | mm² | 4 | 1 | 0.16 | 100 | 13.03 | 4 | 1 | 0.16 |
| Vertical resolution | nm | 100 | 50 | 20 | 3500 | 460 | 130 | 70 | 45 |
| Height step accuracy (1 mm) | % | 0.1 | 0.1 | 0.1 | 0.1 | 0.1 | 0.1 | 0.1 | 0.1 |
| Min. measurable roughness (Ra) | µm | 0.3 | 0.15 | 0.08 | n.a. | n.a. | 0.45 | 0.25 | 0.15 |
| Min. measurable roughness (Sa) | µm | 0.15 | 0.075 | 0.05 | n.a. | n.a. | 0.25 | 0.1 | 0.08 |
| Min. measurable radius | µm | 5 | 3 | 2 | 20 | 10 | 5 | 3 | 2 |

Đánh giá
Chưa có đánh giá nào.