Portable metrology equipment has seen a dramatic rise in its role of supporting manufacturing over the past decade with applications including reverse engineering, prototype part inspection, low volume production measurements, tooling and fixture inspection and alignment, interrogation of product quality issues etc. One significant characteristic of all portable metrology equipment is its ability to be used at the ‘point of manufacture’, on the production floor, providing an almost immediate feedback of measurement data.
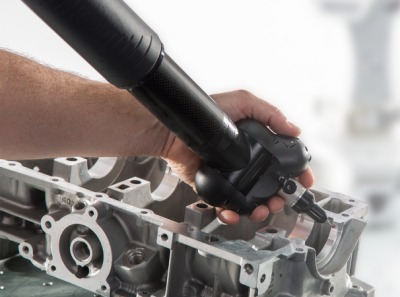
With all the media and exhibition focus these days on smart factories, with in-process, fully-integrated and closed-loop measurement systems, it may be a little surprising to witness that portable metrology equipment suppliers continue to grow their businesses with future years growth projections of the sector remaining in the 8% CAGR range. Portable metrology equipment, in the main, is manually operated which appears at odds with the predicted future of fully automated manufacturing with closed loop, fully integrated, metrology. The reason for its continued growth being that many companies and their manufacturing process continue on in the traditional mode and the overwhelming benefits of portable ‘on-demand’ measurements are compelling.
Portable metrology technology can be categorized into three main vertical products of articulated arm coordinate measuring machines (portable arms), laser trackers and hand held optical scanners although demarcation of equipment category is becoming increasingly blurred.
The portable arm CMM (PCMM) has had a limited number of suppliers, principally due to the original prevailing technology patents, with Faro and Hexagon being globally dominant. French manufacturer Kreon has increased the competitive landscape in past years with their focus on the integration of high accuracy laser scanners within its portable arm range. Other smaller manufacturers have also emerged in recent years along with an upcoming Chinese supplier. Verisurf has integrated its metrology software and takes a bundled arm and model based software solution to market.
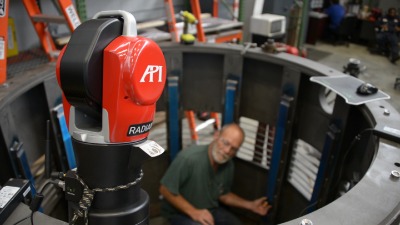
The portable arm has all but eroded the manual horizontal arm CMM market as manufacturing industry increasingly preferers to take the machine to the job and measure in-situ rather than bring large parts into a dedicated centralized metrology lab facility. The continued focus on metrology software usability also means that ease of measurement allows portable devices to be significantly more productive than a traditional CMM when measuring low volume production parts and for problem solving applications. In addition, from the industry early beginnings, the portable arm suppliers adopted an open architecture approach to measurement software allowing hardware and software independent user decisions.
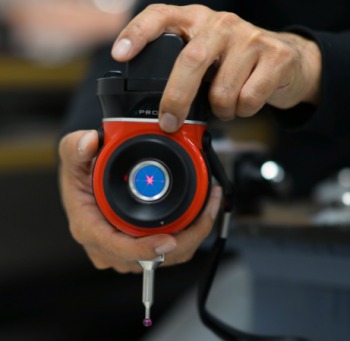
The role of the laser tracker in large volume measurement, and the alignment and inspection of tooling, fixtures and equipment, has also impacted the large gantry CMM market in lower volume production operations. Three principle manufactures of this sophisticated measurement technology exist namely API, Faro and Hexagon MI (Leica). Hand held probing and laser scanning attachments are allowing the laser tracker to extend its applications reach into applications until recently the domain of portable arms.
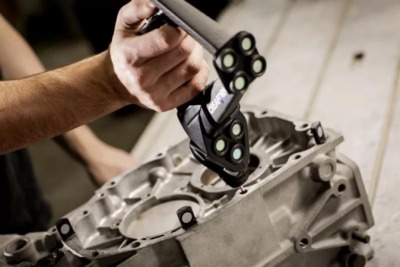
Creaform has plotted its own course in the portable metrology sector with its hand-held and optically tracked ‘arm-less’ portable 3D measurement and scanning solutions. The Creaform HandyPROBE Next portable CMM provides measurement accuracy insensitive to the instabilities of production environments and is free of any rigid measurement setup and claims to outperforms traditional portable CMMs on the shop floor. The C-Track optical tracker and wireless probe can be moved at any time during the measurement sequence generating the same high-quality data.
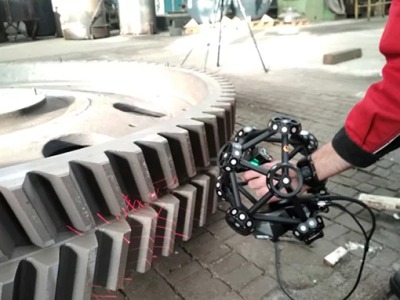
The unique combination of hand-held scanner and optical or laser tracking units offers highly ergonomic design and excellent portability of all system components providing efficient surface-based digitizing.
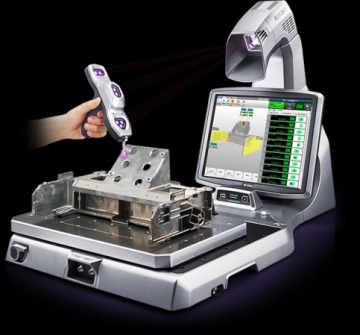
Keyence offers its XM handheld probe coordinate measuring machine for portable production measurements. For repetitive part inspections the user simply touches the part with the probe stylus while following the augmented reality guidance on the system screen. The system adopts a new principle that includes a camera capturing the near-infrared light emitted from the probe mounted markers. allowing users to achieve repeatability of ±3 μm despite being a manual operated system. The XM camera is tasked with capturing only the near-infrared light emitted from the markers and as long as the probe is within the camera’s field of view the machine can detect both the probe’s spatial position and orientation.
It’s difficult to envisage the roles currently being performed by portable metrology equipment diminishing as manufacturing enters a period of reinvention. What can be envisaged it for automated portable metrology solutions to enter the market allowing portable equipment to continue its ‘march’ onto the manufacturing floor albeit that a higher volume of parts can be measured automatically under full CNC execution.
Tags: 3d vina, hiệu chuẩn, hiệu chuẩn thiết bị, máy đo 2d, máy đo 3d, máy đo cmm, Portable Metrology Continues Its March Onto The Manufacturing Floor, sửa máy đo 2d, sửa máy đo 3d, sửa máy đo cmm
