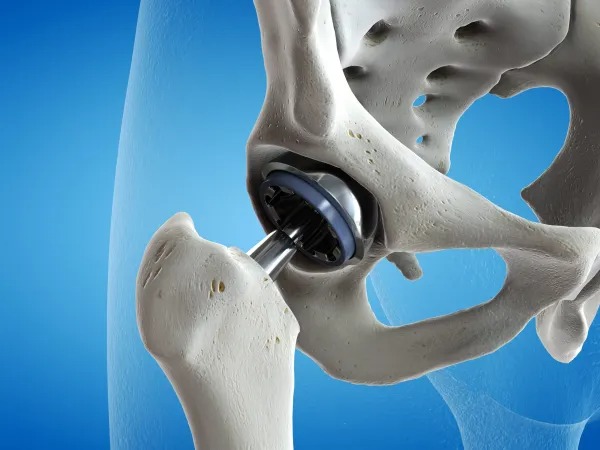
Orthopedic implants are among the most important medical innovations of our time. They improve the quality of life for people of all ages. New metrological requirements for orthopedic implants are being met with the use of high-resolution optical 3D metrology.
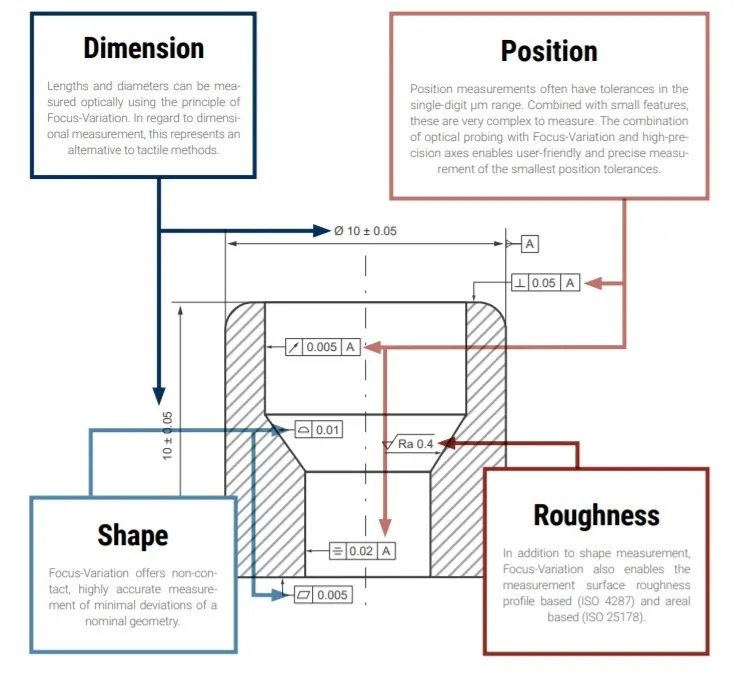
 Maximum precision is the top priority in the production of all types of orthopedic and traumatological implants. Modern implants usually have complex geometries with steep flanks and sometimes high-gloss surfaces. This increasingly presents manufacturers of medical components with challenges in production and in the necessary quality assurance. In addition to roughness measurement, the measurement of GD&T features is playing an increasingly important role. This is exactly where optical 3D metrology comes in as a quality assurance tool.
The focus here is on roughness and wear measurement. Successful biocompatibility of implants depends on many variables, including roughness properties and the age and physical condition of a patient. In addition to roughness measurements, the verification of GD&T parameters is becoming increasingly important. Fast, non-destructive analysis and high measurement reliability play a key role, not only in the laboratory but also in production.
Only through continuous tests and measurements in research and development as well as in production can manufacturers ensure that the tools used and the medical components manufactured with them meet all the requirements in terms of surface quality and dimensional accuracy.
Among the greatest advantages of optical and thus noncontact methods are the area-based instead of profile-based measurements of surfaces and the increased accessibility of geometries that are difficult to measure tactilely. Several optical technologies for roughness and dimensional measurement are available on the market. One of the most established technologies in industrial metrology is Focus-Variation. The small depth of field of an optical system is used to extract the depth information of a surface.
The special feature of Focus Variation is that the measurement of form and roughness is completed with one technology Through corresponding know-how in the construction of precision measuring devices (air-bearing axes, material and component selection), it is additionally possible to optically measure dimension and position (GD&T) with only one sensor. Thus, the functionalities of a roughness measuring system and a coordinate measuring machine are combined.
 For the user, this means being able to measure dimension, position, shape and roughness with high accuracy using just one system. Thus, Focus Variation closes a gap between classical 3D coordinate measuring technology and current surface measuring technology. In addition, the combination of two systems in one offers an enormous economic advantage.
Link to download the full white paper.
For more information: www.alicona.com
Tags: 3d vina, hiệu chuẩn, hiệu chuẩn thiết bị, máy đo 2d, máy đo 3d, máy đo cmm, Optical Measurement of Orthopedic Implants Using Focus Variation, sửa máy đo 2d, sửa máy đo 3d, sửa máy đo cmm
