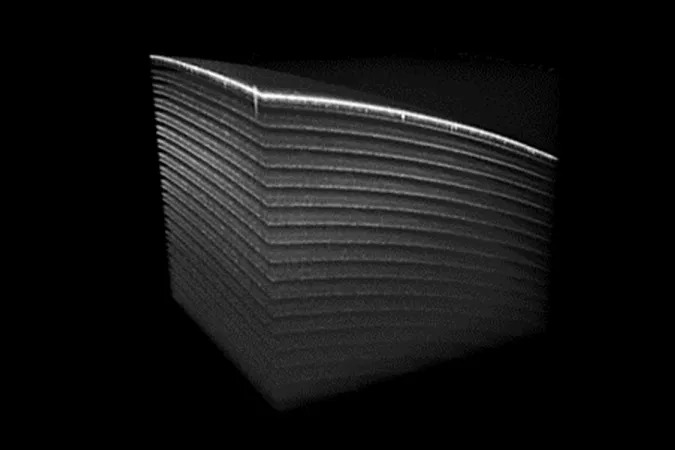
OCT is a non-contact measurement technique originally developed in ophthalmology. It can provide high-resolution two- and three-dimensional images of transparent and semitransparent materials. With its high measuring frequency of over one hundred kilohertz, however, OCT also makes it possible to reliably measure thin and transparent paint layers of one micrometer or more on the basis of cross-sectional images in production.
In print shop practice, for example, this has a clear advantage: because until now, there is no measuring device on the market that can reliably and directly check whether the coating layer has a uniform thickness on the print sheet. The coating layer thickness of the individual print sheet is only estimated by documenting the average coating consumption. However, this approach is very inaccurate and does not provide any real information about the quality of the coating on each individual print sheet. The same is true in other industrial applications, for example in the application of automotive paint and varnish layers for coating a wide variety of components.
With ifSidLa (Development of a method for the interferometric layer thickness measurement of thin printed lacquer films), the Fraunhofer IPT has created a measuring system based on interferometry that can be used to reliably measure thin transparent lacquer layers. Due to its flexible design, the system can also be integrated into production or into an application machine.
The system consists of a light source with a spectral bandwidth of about 300 nanometers. The light is fed in equal parts into a sample arm and a reference arm. In the reference arm, the light is reflected back by a mirror. In the sample arm, the reflection is from the sample. A beam splitter combines the two light components – the superposition of both light components is measured in a spectrometer. Since the path of the light in the reference arm is always the same; the path in the sample arm varies due to the different samples and sample layers, individual layers of a sample can be examined here and layer thicknesses of up to one micrometer can be measured.
Booth 6301 Hall 6
For more information: www.ipt.fraunhofer.de
Tags: 3d vina, hiệu chuẩn, hiệu chuẩn thiết bị, máy đo 2d, máy đo 3d, máy đo cmm, Optical Coherence Tomography Ensures Quality of Thin Films, sửa máy đo 2d, sửa máy đo 3d, sửa máy đo cmm
