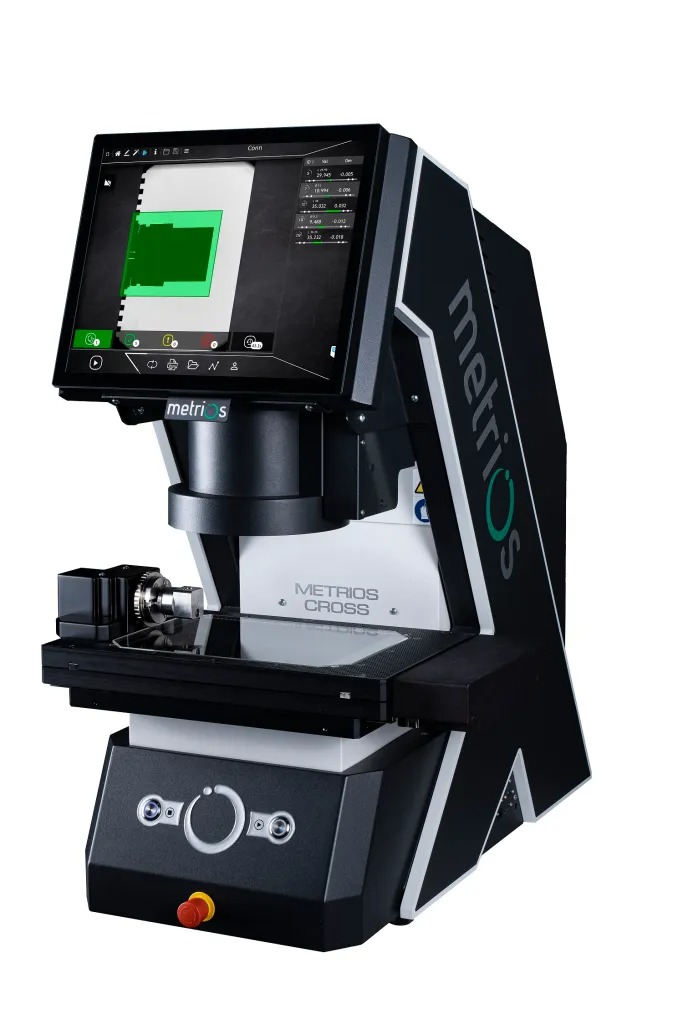
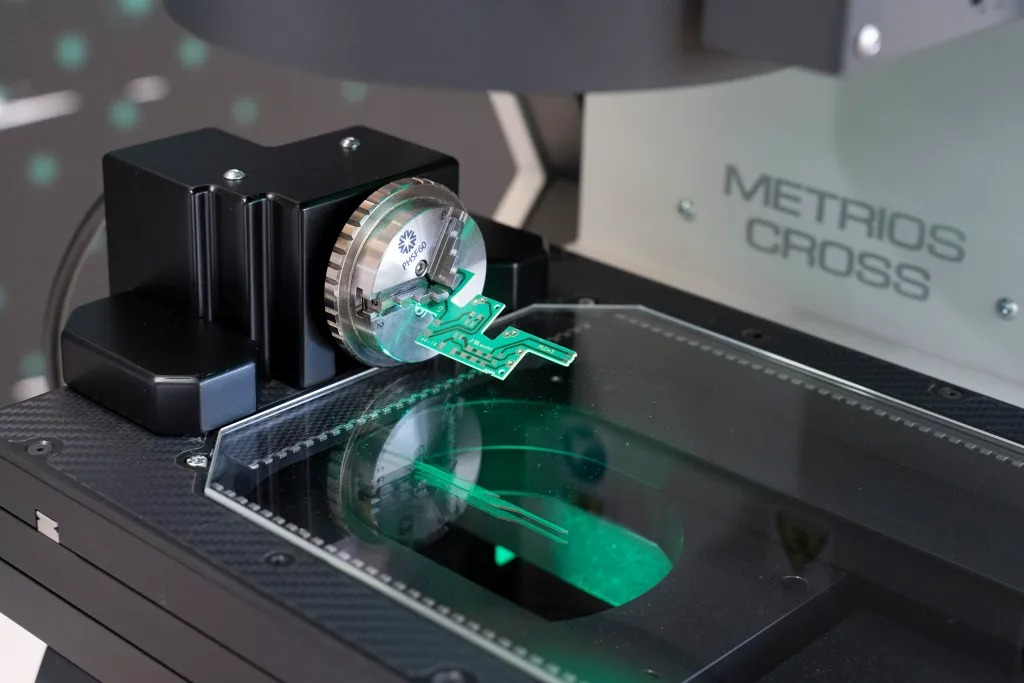
The new Metrios Re-Light optical measuring machine provides users with a single device for components of all shapes, flat and cylindrical. Moreover, thanks to the machine’s innovative automatic rotation it is possible to measure every side of a part in one complete cycle. For any manufacturer looking to check their components in cost-effective, short cycle times with absolute precision and reliability, the all-in-one Metrios Re-Light provides the solution.

Representing a new generation of optical measuring machine that makes quality control even easier, the Metrios Re-Light is sufficiently robust for use in shop-floor production environments. Measuring on the shop floor supports rapid intervention that ensures the process does not go out of tolerance, avoiding costly waste.
Automatic Rotation
Central to the new machine’s impressive capabilities is its automatic rotation function. By providing the potential to obtain both static and dynamic measurements using a single instrument, users not only enjoy short cycle times, but also the assurance that these times will be repeatable, which helps to provide accurate component costings. Furthermore, customers obtain all of the results in a single Metrios report, simplifying the entire quality control process whatever the industry: automotive, aerospace, medical, dental, watchmaking or any other precision engineering sector.
Another notable feature of the Metrios Re-Light optical measuring machine is guided part orientation for more precise positioning and the elimination of operator error. Time equals money for any manufacturing business, so incorrect component positioning can lead to unnecessary delays whenever there is a requirement for corrective action. With Re-Light, right-first-time positioning helps to avoid these issues.
Measuring Awkward Shapes
Using traditional optical measuring machines there is always some concern about whether awkwardly shaped components will sit level on the glass surface. Using the latest innovation from Metrios, however, users can simply deploy the ‘Re-Light’ function to position any parts that do not sit comfortably on the measuring surface.
As well as flat components, it is possible to measure any type of cylindrical part/feature using the Metrios Re-Light. Whether the component has undercuts, keyways or any other complex features, the machine automatically finds the reference point to orientate the measurement. As a result, users benefit from adopting a standard process that measures all parts the same way.

Proven Precision
Accuracy is assured thanks to the use of proven Metrios technology based on high-resolution camera and three different lighting systems. Through a motorised ring light, the Metrios Re-Light can change the angle of lighting incidence on the part and provide different angles of light source within the same measurement cycle.
Of course, customers also gain from all of the established benefits associated with using a non-contact measuring system, such as highly accurate dimensional measurement in seconds, and suitability for parts that would be too sensitive for measurement using a tactile probe. The Metrios Re-Light offers a wide working field, fast measuring speeds and an industrial 17-inch multi-touch screen for clear visibility and simple operation.
For more information: www.metrios.com
Tags: 3d vina, hiệu chuẩn, hiệu chuẩn thiết bị, máy đo 2d, máy đo 3d, máy đo cmm, Optical CMM Accommodates Both Flat and Cylindrical Parts, sửa máy đo 2d, sửa máy đo 3d, sửa máy đo cmm
