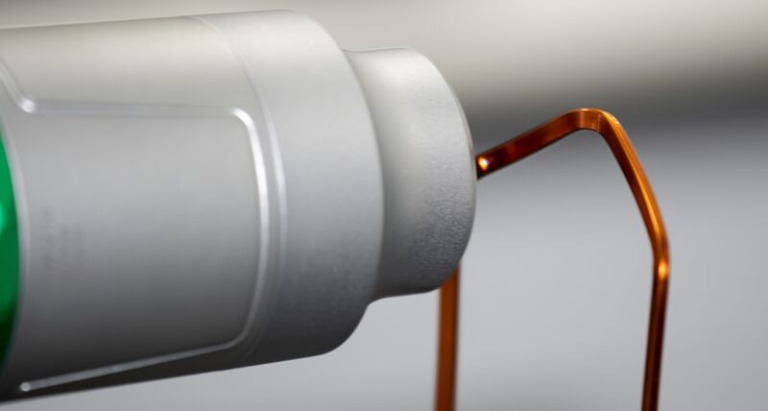
A new high speed, non-contact sensor for use with coordinate measurement machines (CMMs) from Hexagon’s Manufacturing Intelligence addresses growing demand from the consumer electronics and medical industries to rapidly inspect delicate parts with a range of surface finishes, including those produced via additive manufacturing, without applying damaging pressure.
Manufacturers of components with vulnerable surface finishes struggle to achieve optimal efficiency because traditional tactile inspection can be time consuming, and parts are often damaged during measurement. In cases where 100 percent of components must be inspected, the deformation of delicate surfaces impairs productivity and, ultimately, the bottom line. The new HP-OW chromatic white light sensor provides increased measurement speed and flexibility for OEMs and offers contract manufacturers the opportunity to employ new technologies and materials in production.
 The sensor’s ability to measure components with transparent, polished, rough, and matte finishes makes it easy to quickly and accurately measure parts made with delicate materials – including electronics components such as LED vehicle lights and solar panels. Non-contact capabilities also offer high throughput inspection of medical devices, such as surgical implants, where every part must be inspected with high accuracy.
Additive manufacturing processes pose unique challenges because parts must often be measured throughout production to ensure quality, but the cycle time to perform precision inspection of rough unfinished parts can be prohibitive. As a new option in a line of specialized sensors extending the range of measurement technologies that can be used with a single CMM, the chromatic white-light scanning sensor offers an efficient method to scan parts with high accuracy throughout production.
Wolfgang Madlener, VP machine tool and sensor devices, said, “We are excited to introduce these highly specialized sensors to address the need for continuous sampling at high accuracy and speed. We recognise that our customers need new approaches to address evolving product designs, manufacturing techniques and the agility to address new markets. It’s a given that the CMM must be accurate – what’s important today is that this valuable asset can be adapted to solve each new challenge with the best available sensor and software combination for the measurement.”
Compatible with Hexagon’s GLOBAL S and OPTIV M CMM lines, the new chromatic white-light sensor can help manufacturers derive greater value from one piece of equipment by expanding measurement capabilities to a wider range of materials. This is complemented by two new touch-trigger probes, also launched today, that offer manufacturers robust high-accuracy measurement of delicate parts. Ideal for novice to experienced users, the highly durable HP-THDe is a modular touch-trigger probe that delivers superior repeatability, adaptive triggering, and faster stylus-change capabilities compared to common touch-trigger probes. Also suitable for non-experts, the highly durable HP-TMe touch-trigger probe is available in four versions that offer a range of measuring forces to suit a broad range of application requirements.
The ability to automatically switch between tactile and non-contact sensors in response to changes in application accelerates the inspection of a wide range of parts with different material types. For a part such as a windscreen, where multiple different measurement techniques are required for the inspection, the overall process efficiency can be improved by automating inspection from start to finish with a sensor-changing rack. Updates to Hexagon’s PC-DMIS metrology software support the new sensors and enable the efficient programming of multi-sensor inspection processes, including rack automation, from a single pane of glass.
For more information: www.hexagonmi.com
Tags: 3d vina, hiệu chuẩn, hiệu chuẩn thiết bị, máy đo 2d, máy đo 3d, máy đo cmm, Non-Contact CMM Sensor Accelerates Delicate Parts Inspection, sửa máy đo 2d, sửa máy đo 3d, sửa máy đo cmm
