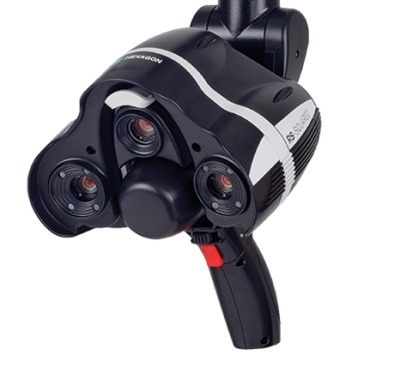
A structured light scanner can take a highly-detailed image several metres across in an instant. So when Hexagon Manufacturing Intelligence saw customers using its Absolute Arm systems to digitise larger workpieces, but finding the time required frustrating, it knew structured light scanning technology was the answer. This initial idea sparked the development of the RS-SQUARED Area Scanner, the world’s first ever structured light scanner mounted on a portable measuring arm.
 Hexagon wanted to deliver a scanner that could work in tandem with its high-accuracy laser scanners to deliver even faster scanning when it was needed. With the raw speed of structured light data collection, its engineers saw the potential to deliver just that.
Hexagon also saw that with a portable measuring arm, it could sidestep all the difficulties of setup time, calibration and data alignment that slow down a typical structured light scanner. Solving that problem is exactly what an Absolute Arm is built for – providing a global 3D coordinate system for a probe or sensor with no need to recalibrate before use due to a patented repeatable mounting and integrated Absolute Encoders.
But what it would need to do was make the new scanner small enough to fit on an arm and be used by hand meant making it smaller than any other area scanner on the market. There’s always a trade off when miniaturising technology, and with RS-SQUARED the solution was to maintain speed performance while focusing less on data quality and accuracy.
The RS-SQUARED retains metrology-grade detail and accuracy, but at a lower level than that provided by the Hexagon RS6 Laser Scanner flagship sensor. And the payoff is in much faster measurement process times. RS-SQUARED is aimed squarely at the fast-growing range of applications to which metrology tools are being applied where speed is fundamentally more important than extreme accuracy.
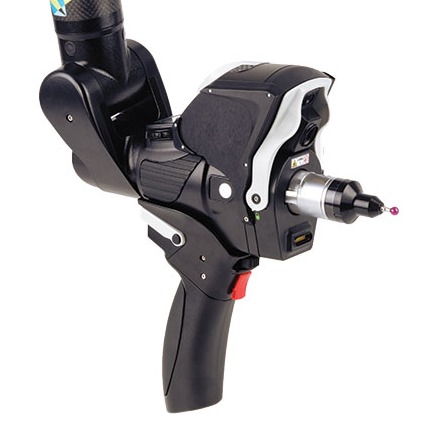
 The RS-SQUARED is just one among several scanner options for the Absolute Arm: users who need high-detail, high-accuracy measurement can quickly and simply switch to RS5 and RS6 laser scanners, even within the same measurement session.
In practise how will the RS-SQUARED be applied by users? Imagine a medium-sized part with a handful of small, relatively detailed features that demand a high-detail scanner. Such a part will typically have edges that also need a high-detail scanner. But it’s pretty common for 50 to 80 percent of such a part to be nothing but plain surface for which only simple data is needed in order to complete the ‘digital twin’ picture. A portable arm operator can spend an hour collecting unnecessarily detailed data on surfaces by painting it with the 150-millmetre wide scan line of a best-in-class laser scanner. But what if users can make an almost instantaneous switch to a different scanner that would digitise the entire surface in less than 5 minutes? That is simply a huge time saving and exactly what RS-SQUARED offers users.
The sensors are seamlessly integrated as a single Absolute Arm system such that a sensor swap is performed without changing to a new software session; all the data for both scanners is immediately mapped together and integrated within the same coordinate system and can be used as if it were all collected by the same device.
The benefit of RS-SQUARED comes down to speed when data is needed but not detail. When more detail and higher accuracy is required, the RS-SQUARED pairs perfectly with the Hexagon RS5 Laser Scanner.
Hexagon Manufacturing Intelligence have packaged a multi-sensor portable measuring arm bundle combining both scanning technologies resulting in unparalleled measurement portability. High-speed WiFi connections and two hot-swappable batteries mean that both scanners can be used without any need for cable connections.
For more information: www.hexagonmi.com
Tags: 3d vina, hiệu chuẩn, hiệu chuẩn thiết bị, máy đo 2d, máy đo 3d, máy đo cmm, Multi-Sensor Portable Arm offers Blended Scanning Speed and Accuracy, sửa máy đo 2d, sửa máy đo 3d, sửa máy đo cmm
