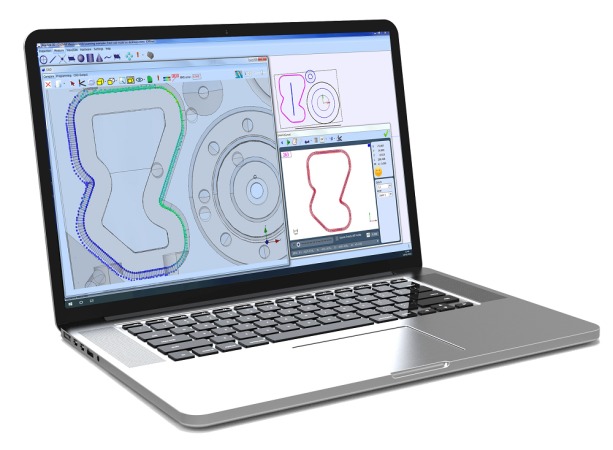
Aberlink has announced the launch of the latest edition of their mk4 inspection software. The major enhancements to the new version 4.18 of mk4 software are:
Leapfrog function: Originally requested by articulating arm manufacturers the leapfrog function is also a perfect solution for manual and CNC CMMs. If a part is bigger than the axis-travel of the CMM, now it can be measured as two or more entities and then mated together using the Leapfrog function. Once mated as a complete inspection program, various inspection reports can be generated according to the customer’s requirements. The leapfrog function enables customers to inspect bigger parts on a smaller machine, keeping the capital investment to an absolute minimum and future proofing their current investment in Aberlink CMMs.
 RPS alignment: Commonly used in the automotive and aerospace industries, the RPS alignment functionality in v4.18 has been improved and simplified. Measured features can be quickly and easily constrained in the X-Y-Z axis and RPS coordinates applied accordingly. The Aberlink software executes a quick iterative process to determine the best RPS alignment. Deviations in the X-Y-Z measured points to the RPS alignment are shown so that the measured point positions can be optimized to obtain the best possible alignment.
Lobing calibration: Some touch-trigger probes suffer from pretravel variation, commonly known as lobing. This is the bending of long styli when in contact with the part before the touch probe detects the point of contact and reads the X-Y-Z coordinates of the CMM. It is now possible to calibrate a long stylus and compensate for the lobing effect. This results in a significant improvement in metrology when having to use long styli, beyond the touch probe manufacturers guidelines, to measure size and form of tight tolerance features.
Tool Offset Compensation: It is now possible to assign a tool offset correction value or work piece coordinate (WPC) correction value to a single or multiple measured features controlled by a tool offset or WPC. Completely embedded in the feature measurement information, a tool offset or WPC can be assigned to a measured feature. The nominal value is taken from the value set in the dimension information so that the deviation (correction value) from nominal can be automatically calculated. Users can either manually input the correction values, or fully automatically update their machine tool control system through an Aberlink machine tool control interface. When used in conjunction with the Aberlink automation interface, it is now possible to measure parts on an Aberlink CMM in a 24/7 unmanned and completely autonomous manufacturing cell.
Existing Aberlink customers can download the latest version of the mk4 software for their CMM completely free-of-cost.
For more information: www.aberlink.com
Tags: 3d vina, hiệu chuẩn, hiệu chuẩn thiết bị, Latest Aberlink Software Provides Automatic CNC Tool Offset Compensation, máy đo 2d, máy đo 3d, máy đo cmm, sửa máy đo 2d, sửa máy đo 3d, sửa máy đo cmm
