Over the next four years, ITER components arriving from hundreds of factories on three continents will have to come together very precisely, to submillimetre accuracy, in some cases. To achieve this level of precision, an expert team of metrologists is needed.
John Villanueva is one of the experts of the ITER Metrology, Reverse Engineering, Inspection and Test Group. “I became involved in metrology long enough ago that I’m now one of the old-timers,” he says. “I’ve gone from using the old-fashioned optical-mechanical scopes all the way to the laser trackers we use today. It’s because I lived through those changes that I can more easily understand why we do what we do today.”
Aligning Huge Parts To The ITER Coordinate System
All measurement tasks require a fixed reference base from which measurements can be made and calculated. As a large-scale metrology project, ITER has a three-dimensional coordinate system that consists of a collection of target “nests” and/or instrument stations that have known geometry and computed uncertainty. Inside the Tokamak Complex, the network is called the Tokamak Global Coordinate System.
“When you go into the Tokamak Building you’ll see our red targets all over the building,” says Villanueva. “We can use a tool to shoot any three targets, and by the magic of Pythagorean’s Theorem we know precisely where the centre of our instrument is with respect to the Tokamak Global Coordinate System.” The tool includes a horizontal angle encoder, a vertical angle encoder, and a laser to obtain distance. With the two angles and the distance, a triangle can be established.
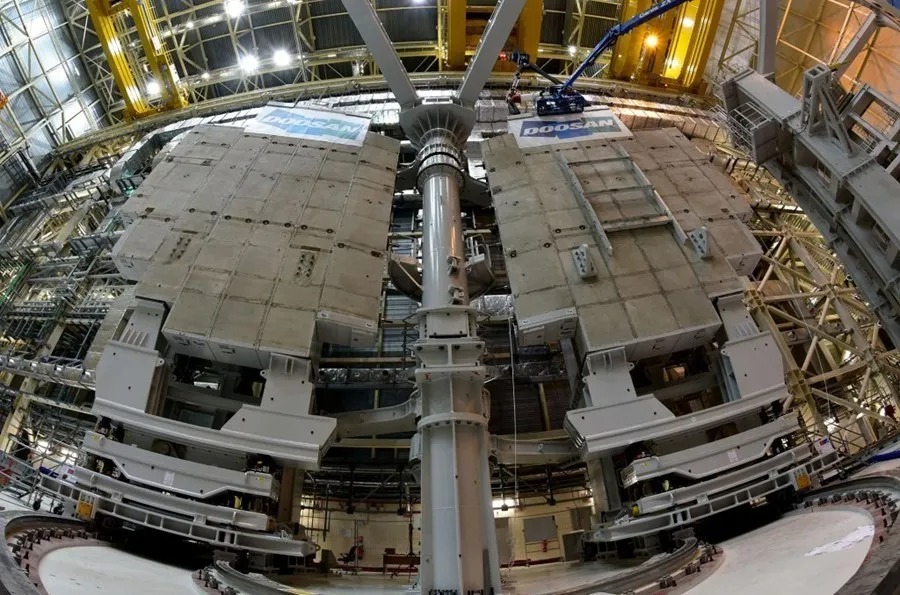
“We recently had 340-tonne test loads going into one of the sector sub-assembly tools in the Assembly Hall, that had to be positioned vertical to gravity and within one millimetre,” says Villanueva. “They had to be vertical to gravity for safety reasons, but also because—as part of commissioning—we had to prove that the tool could align huge parts vertical to gravity with tight accuracy.”
“The sector sub-assembly tools have six degrees of freedom—and along each degree of freedom, the instruments used for metrology can measure submillimetre movements. Metrology is there, watching the component aligned onto the tool and telling the teams if it’s aligned in the right position.”

Metrology is not only about aligning components during installation, but also measuring each part to make sure it has been manufactured as designed. Accompanying each measure is an uncertainty, or tolerance. To make sure mechanical engineers and metrologists understand each other unambiguously, a standard “language” is used, called geometric dimensioning and tolerancing (GDT).
“I can take a part somewhere else and they’ll measure it exactly the way I’m measuring it by interpreting this language,” explains Villanueva. “This system allows us to compare what was manufactured with what was designed.”
Controlling Temperature And Humidity
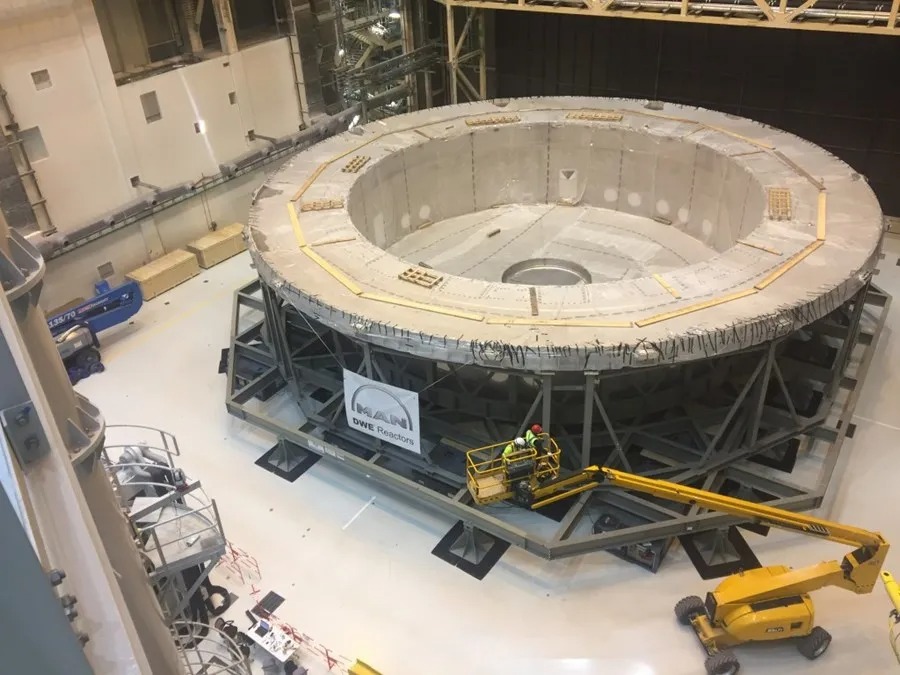
When metrologists measure components, they need to take into account a coefficient of thermal expansion, which depends on the materials used. When composite materials are used, the component may expand differently on the inside than on the outside, because the individual materials have different rates of expansion. Some of the ITER machine components are so big that a one-degree change of temperature could add a millimetre in any of the three dimensions (or in all three), changing both surface area and volume.
“Before we measure a part, we take its temperature,” says Villanueva. “If it’s not at 20 °C, we use software to find out what the size of that part would be at 20 °C. There are a number of different software systems that do this. You input the temperature and measurements, along with the types of materials used, and the software figures out the size and volume of that component at room temperature.”

“When it comes time to install these huge, high-precision parts, temperature is very important. If the component is not at 20 °C, plus or minus half a degree, we have to let it ‘soak’ in the room for about a day to get it to the temperature we need.”
Humidity is also a concern: too much causes parts to rust; too little gives rise to static electricity. Moreover, the performance of the laser used for positioning and measurement could be affected by extreme humidity – that is, anything outside the “normal” range of 20-90%.
Measurement precision is one of the reasons ITER puts so much effort into maintaining constant temperature and humidity in the assembly spaces. To prevent outside weather conditions from affecting the environment inside, the buildings are well insulated—and positive airflow ensures none of the air from outside comes in when doors are opened. As an extra precaution, alarm systems alert engineers to fluctuations in temperature and humidity.
Environmental conditions are just part of the challenge. The size of the overall project, the sizes of the systems and component parts, along with the precision requirements and the complexity of the materials, all conspire to make ITER particularly interesting for practitioners of the science of measurement.
“For a metrologist, ITER is one of the best jobs in the world,” says Villanueva.
For more information: www.iter.org
ITER (“The Way” in Latin) is one of the most ambitious energy projects in the world today.
In southern France, 35 nations are collaborating to build the world’s largest tokamak, a magnetic fusion device that has been designed to prove the feasibility of fusion as a large-scale and carbon-free source of energy based on the same principle that powers our Sun and stars.
The experimental campaign that will be carried out at ITER is crucial to advancing fusion science and preparing the way for the fusion power plants of tomorrow.
ITER will be the first fusion device to produce net energy. ITER will be the first fusion device to maintain fusion for long periods of time. And ITER will be the first fusion device to test the integrated technologies, materials, and physics regimes necessary for the commercial production of fusion-based electricity.
Thousands of engineers and scientists have contributed to the design of ITER since the idea for an international joint experiment in fusion was first launched in 1985. The ITER Members – China, the European Union, India, Japan, Korea, Russia and the United States – are now engaged in a 35-year collaboration to build and operate the ITER experimental device, and together bring fusion to the point where a demonstration fusion reactor can be designed.
Tags: 3d vina, hiệu chuẩn, hiệu chuẩn thiết bị, ITER’s Reliance On Laser Tracker Metrology, máy đo 2d, máy đo 3d, máy đo cmm, sửa máy đo 2d, sửa máy đo 3d, sửa máy đo cmm
