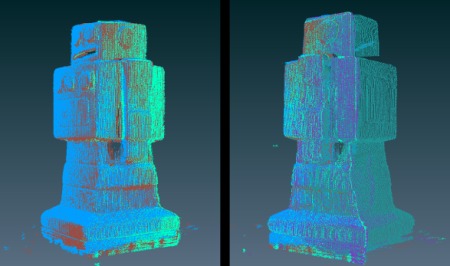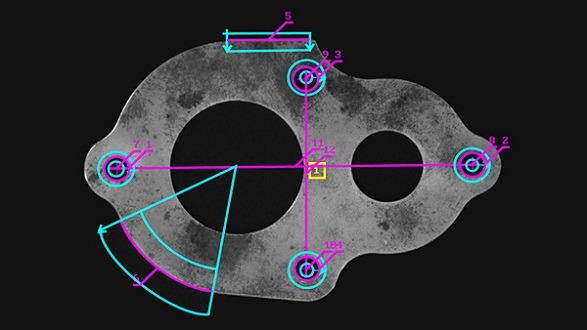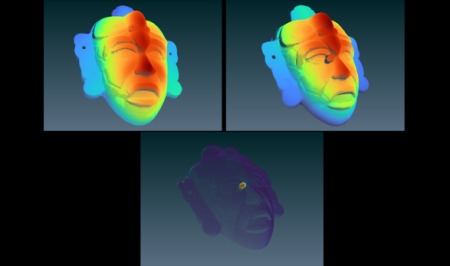
The 3D processing tools in MIL X operate on, and in between, point clouds, depth maps, and/or elementary objects. The latter can be a box, cylinder, line, plane, or sphere. Operations on a point cloud include rotation, scaling, translation, cropping/masking, re-sampling, and meshing into surfaces; computing normal vectors; projecting to a depth map; and extracting a cross-section. Operations on a depth map include addition, subtraction/distance, and minimum/maximum; filling gaps (i.e., caused by invalid or missing data); and extracting a profile. Additional operations on both a point cloud and depth map include establishing a bounding box, computing the centroid, counting the number of points, and calculating the distances to the nearest neighboring point.

MIL X includes a toolset for 3D Metrology. Within this toolset, one tool fits a point cloud or depth map to a cylinder, line, plane, or sphere. Additional tools compute various distances and statistics between point clouds, depth maps, and fitted or user-defined elementary objects. Another tool is available to determine volume in a variety of ways.
An additional 3D Registration tool in MIL X establishes the fine alignment of two or more point clouds and merges them together if required. This tool provides the means to perform high-accuracy comparative analysis between a 3D model and target, as well as full object reconstruction from multiple neighboring 3D scans.

MIL X also contains tools to perform 3D profiling using a discrete sheet-of-light source (i.e., laser) and a conventional 2D camera. A calculator is included to establish the camera, lens, and alignment needed to achieve the desired measurement resolution and range. MIL X provides straightforward calibration methods and associated tools to produce a point cloud or depth map. The calibration carried out in MIL X is able to combine multiple sheet-of-light sources and 2D camera pairs to work as one, thus avoiding the need for post alignment and merger. Such configurations are useful to limit occlusion, increase scan density, and image the whole volume of an object. Moreover, MIL X makes use of a unique derivative-based algorithm for beam extraction or peak detection, which is both more accurate and robust than traditional ones based on the center of gravity.
In addition, MIL X provides the necessary calibration services to position and orient a camera and robot (base) with respect to the absolute coordinate system. It then enables an application to locate a point of interest and even establish an objects’ 3D pose with respect to the absolute coordinate system using multiple views. This is achieved by using other MIL X tools for pattern recognition—to find the one identical feature across views, or a minimum of three identical features in case of pose estimation—and then relying on MIL X to triangulate the 3D position(s). The pose is established by the application using the geometric relationship of these features, which can come from an object model. Pose estimation can also be performed using a single view by locating a minimum of four object features whose geometric relationship is known beforehand by way of an object model.
For more information: www.matrox.com
Tags: 3d vina, hiệu chuẩn, hiệu chuẩn thiết bị, Imaging Library Tools Perform 3D Processing and Analysis, máy đo 2d, máy đo 3d, máy đo cmm, sửa máy đo 2d, sửa máy đo 3d, sửa máy đo cmm
