The Coordinate Measuring Machine (CMM) has been the centerpiece of most manufacturing company quality control departments for more than 35 years. While the world has dramatically changed over the past three decades with the invention of portable computing, smartphones, the world wide web, wireless communications, etc developments in the CMM world have been somewhat more evolutionary than revolutionary. Yes, the CMM has taken advantage of PC developments, Microsoft Windows operating systems, and advancements in control system technology but the core mechanical structure remains pretty much unchanged.
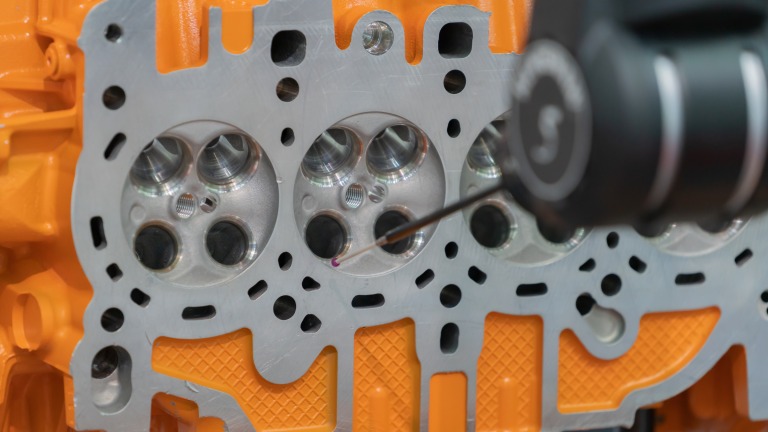
Manufacturers have advanced the overall manufacturability of the CMM, taking it from a hand-crafted machine to a ‘mass produced’ device which also saw a shift to new materials, such as ceramic and aluminum, but the core design of granite base, floating air-bearings, three-axis cartesian structure with a pneumatic counter-balance remains intact.
The role of the CMM in manufacturing however has changed dramatically over the past 35 years. Once the CMM was the ‘show-piece’ of plant tours impressing visitors with “our commitment to quality”; and in many cases, the CMM was purchased for this very purpose! Today the installation of multiple CMM units, distributed throughout a production facility, is commonplace. The CMM has become the ‘go-to’ audit tool for quality control of precision manufactured parts.
Searching Linkedin for ‘CMM Programmer’ and ‘CMM Operator’ returns a list of tens of thousands of professionals supporting the day-to-day operation of coordinate measuring machines in manufacturing industries globally and demonstrating just how universally adopted the CMM has become across all facets and precision manufacturing.
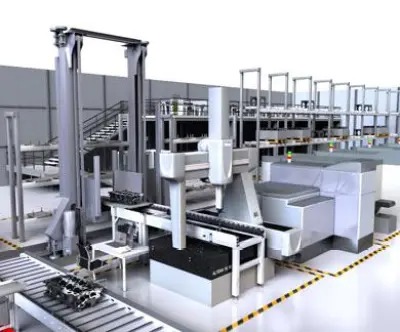
The CMM remains a very flexible measuring device with its measurement limitation typically only constrained by physical size, sensor configuration, and accuracy grade. Over past decades CMMs have become faster, more accurate, and easier to program. Ongoing developments by CMM manufacturers have included making structures stiffer, lighter, and thermally compensated for use outside of their once traditional temperature-controlled quality rooms. Improvements in scanning probes, including 5 axis technology, have allowed CMMs to measure the most complex of geometries providing much more measurement data than traditional gauging techniques and with considerably more flexibility.
Is the Role of The CMM about to Change
Now with the advent of Industry 4.0 and Smart Manufacturing is the role of the CMM about to change? Smart Manufacturing relies on the ability to capture measured data and dynamically utilize the generated data to control manufacturing processes. Automation will play a significant role in ensuring the data collection process is seamless and with minimum latency.
Integrated Inspection
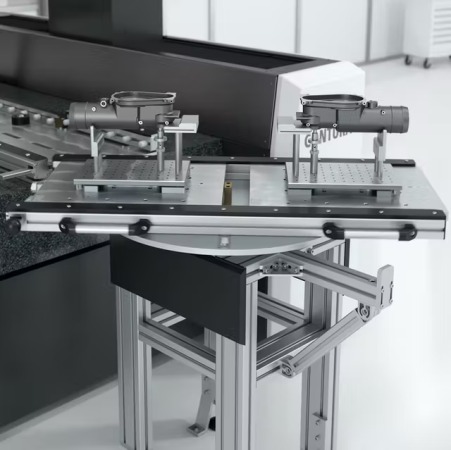
For the CMM to support the Smart Factories of the future it must become more integral within the overall manufacturing process. More often this will mean the CMM being seamlessly integrated as a ‘spur’ with automated part loading/unloading by robot, part transportation conveyor or directly integrated into the actual production line.
Zeiss offers numerous hardware solutions to integrate their CMM units into manufacturing processes including its Rotating Setup Station allowing the exchange of component pallets offered by transfer shuttle table to the CMM measuring station.
Autonomous CMM Inspection
Hexagon Manufacturing Intelligence offers TEMPO as a cost-effective automated CMM part loading system that increases throughput and maximizes operational capacity. TEMPO enables autonomous measurement free from interruption. The standard automation solution is designed for ultimate flexibility and configurable with 3-6 loading drawers, each with 0.3 square metres of storage space and holding up to 100 kg of parts.
The system’s high-performance collaborative Universal Robot robot offers collision detection and customizable stopping times. Automatic identification of out-of-tolerance parts ensures the generation of rapid measuring data.
One Stop Measurement Platform
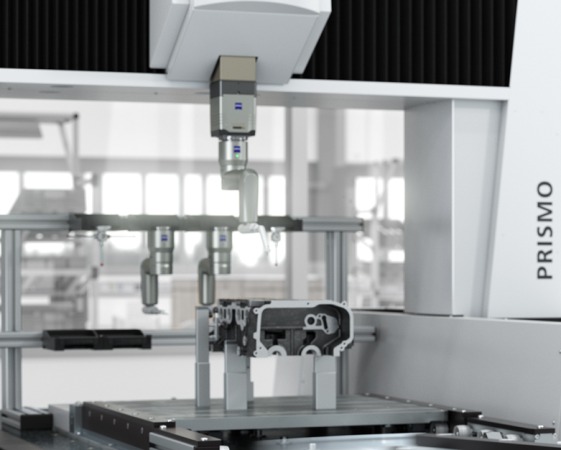
In the quality lab it is typical to utilize additional measuring equipment to generate a full inspection report of critical part features and characteristics. In the era of Smart Manufacturing this luxury will not prevail. All needed part data must be generated in a single measurement station necessitating the requirement for multiple sensor technologies to be seamlessly available allowing full part inspection to be performed in a single set-up. The ‘Multisensor CMM’ has been evolving over the past decade as new compact CMM sensors have been developed along with associated tool-changers. Multisensor CMM configurations allow all part features and characteristics to be measured in a single inspection cycle. Available sensors include tactile, optical, laser and surface finish.
Alongside the traditional bridge CMM, equipped with multiple sensors and toolchanger, we have also witnessed the emergence of mutisensor CMM configurations where all sensor technologies are rigidly mounted to the CMM Z axis (same have multiple Z axis) eliminating sensor changes and thereby optimizing inspection times. The Nikon HN-6060 combines optical, tactile and a laser scanner system that acquires point clouds a rate of 120,000 points per second with an accuracy of 5µm.
Off-Line Programming and Virtual Measurement Simulation
The traditional process of generating new inspection programs at the CMM is no longer possible when the machine is integrated into Smart Manufacturing processes. Offline CMM programming, although certainly not a new concept, must now be fully developed offline with virtual prove-out using sophisticated virtual simulation tools. In addition to the CMM suppliers own software 3rd party software companies have also developed advanced CMM software’s’ that allow the development of right-first time measurement programs. The integration of PMI (Product Manufacturing Information) extraction from part CAD models automates further the CMM program generation process and eliminates many of the classic common programming errors.
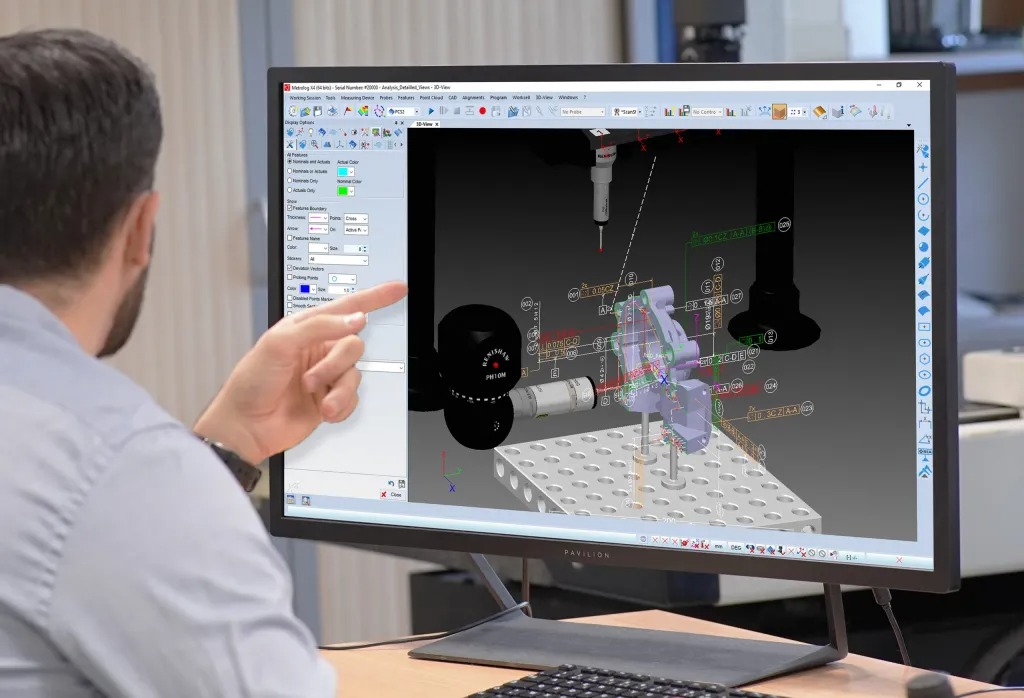
Metrolog X4 virtual offline CMM path planning using PMI
CMM inspection planning, utilizing PMI, enables automated part program creation by importing part GD&T information and dimensions directly from 3D native CAD models. Advanced software’s interprets the metrology-relevant information from the 3D data and automatically associates the resulting features with the measurement and evaluation methods. Pre-defined tool/sensor configurations are automatically assigned to the characteristics. Intuitive software editors allows the operator to adjust the measurement scope, sequence, and strategy as required.
Data Feedback for Dynamic Adaptive Control
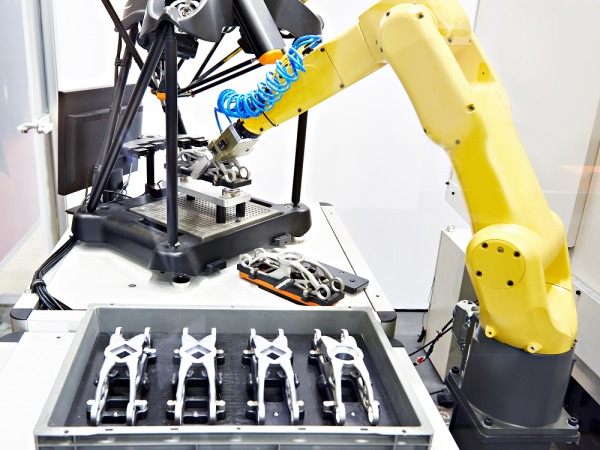
Renishaw has pioneered, with its Equator Intelligent Process Control (IPC) software, the constant monitoring and automatic adjustment of CNC machining operation, keeping part dimensions close to nominal and well within process control limits. The correction of process drift improves part quality and manufacturing capability, and reduces scrap. The location of the Equator gauge close to the CNC machining process allows adjustment at the point of manufacture avoiding time delays. An Equator gauging system can be connected to one or multiple CNC machine tool controllers.
The Renishaw IPC software can average results from several parts to determine the true process mean for adjustment of critical cutting tools. For process control purposes, Renishaw state that often only one machined feature per cutting tool requires gauging, in contrast with the many features inspected for typical quality assurance applications. The frequency and magnitude of offset updates can be configured on a feature-by-feature basis depending on design tolerances, process variation and tool wear rates. IPC is an integral function of the Renishaw Equator Process Monitor software, and uses recent historical gauging data to determine process corrections.
Seamless CMM Integration
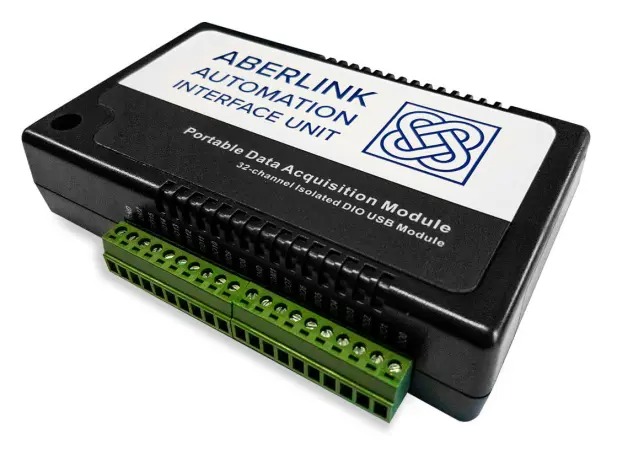 The Aberlink CMM automation interface adds the capability for Aberlink 3D inspection programs to be remotely controlled and monitored using an external system allowing any Aberlink CMM to be integrated with an automated component handling system. The package comprises of an optically isolated digital I/O system and a software module that enables the software to be setup to follow a defined operating sequence to allow the automated operation.
The Zeiss Automation Interface allows users to easily automate their measuring device without any engineering effort. In addition to starting inspection plans and providing feedback on measurement results or machine status, the application allows users to control CMM peripherals. The software allows automated startup from single measurements to complex pallet measurements, coordination of individual automation sequences, networking of multiple CMMs in automated applications, automatic part identification with 1D/2D scanner or RFID systems, standardized communication interfaces: OPC UA, Profinet, EthernetIP, simple configuration directly via the user interface, without complex PLC programming, automation of the CMM periphery.
Remote Machine Monitoring
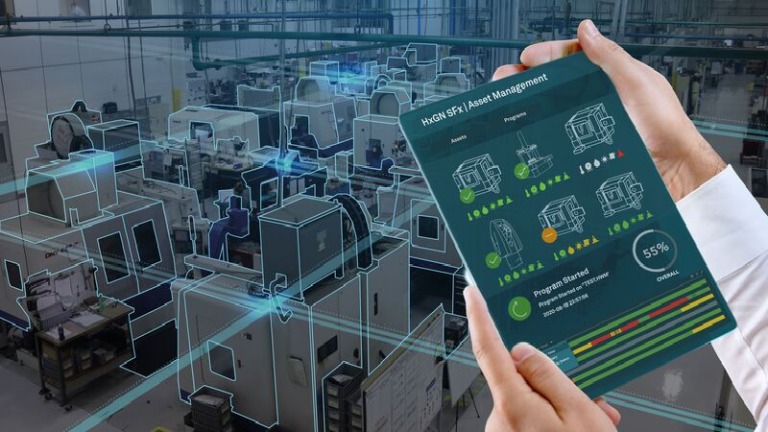
CMM asset management based on real-time data is an essential part of every smart manufacturing strategy. Successful asset management depends on having access to actionable insights in a format that is easy to access and use.
Hexagon MI’s HxGN SFX | Asset Management allows managers to monitor metrology asset performance via a centralized dashboard, enabling real-time decision-making and greater visibility into sources of downtime and available capacity.
LK Metrology’s Metrology Gate is a web-based platform to help production departments remotely monitor and control inspection activities. Metrology Gate provides remote access to measurement results, a summary of errors, a record of program changes and a log of CMM uptime and overall equipment effectiveness (OEE). Historical logs assist troubleshooting and warn when routine maintenance is due.
Measuring-Up To The Smart Manufacturing Challenge
The CMM is ‘stepping-up’ and adapting to the new era challenges faced from Industry 4.0 ensuring its continuation as the ‘go-to’ measuring tool for precision manufacturing operations as they transition to become smarter, adaptive and more autonomous.
Also check out our recent article Shaping The Future Of Coordinate Measuring Machines
Tags: 3d vina, hiệu chuẩn, hiệu chuẩn thiết bị, How The CMM Is Adapting To Support Smart Manufacturing, máy đo 2d, máy đo 3d, máy đo cmm, sửa máy đo 2d, sửa máy đo 3d, sửa máy đo cmm
