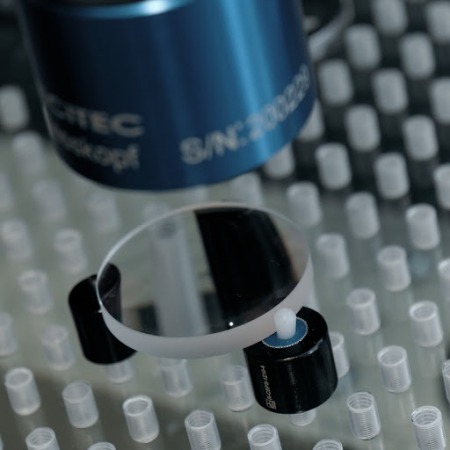
 Are you looking for a reliable method of measuring critical and highly critical workpieces? Dr. Heinrich Schneider Messtechnik claims to have the perfect solution for you. The Schneider’s chromatic white-light sensor assists users to accomplish the most sensitive of inspection tasks with ease, such as measuring the thickness of glass, lenses or medical ampoules.
Light-absorbing objects with matte, black surfaces also pose no measurement obstacle to the Schneider chromatic white-light sensor. Non-contact acquisition of free-form surfaces as well as measurement of microstructures is a breeze when the sensor is combined with one of Schneider’s 3D multisensor portal-type measuring machines.
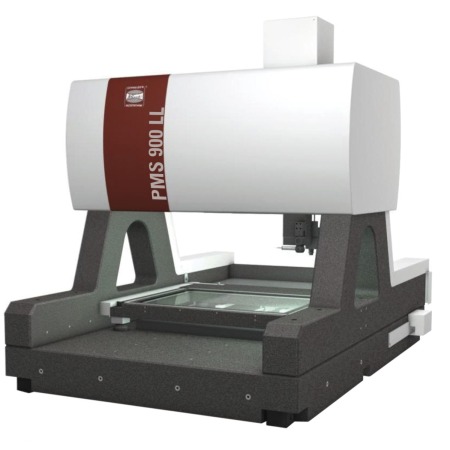
 The sensor can be used on the Schneider PMS and PMS LL series of multi-sensor coordinate measuring machines. The largest model in the range is the PMS900 LL with a measuring range of 900 x 700 x 600 mm with all granite axes mounted on air bearings. Offering measurement uncertainty of E1 = 0.9 + L/600, E2 = 1.2 + L/500 and E3 = 1.9 + L/400 the PMS 900 LL has a 3-axis CNC system that can be expanded to 5 axes together with a 1.4 megapixel CCD camera with telecentric lenses. The unit can be fitted with both the Renishaw SP25 tactile scanning probe, stylus changer unit and PH10 motorised indexing probe head.
Whether measuring highly reflective, absorbing, transparent, touch-sensitive or low-contrast workpieces the Dr. Heinrich Schneider Messtechnik white-light sensor integrated, with one of its multi-sensor CMM solution offers the optimum inspection solution.
For more information: www.dr-schneider.de
Tags: 3d vina, Brilliant Performance on Reflective Materials, hiệu chuẩn, hiệu chuẩn thiết bị, máy đo 2d, máy đo 3d, máy đo cmm, sửa máy đo 2d, sửa máy đo 3d, sửa máy đo cmm
