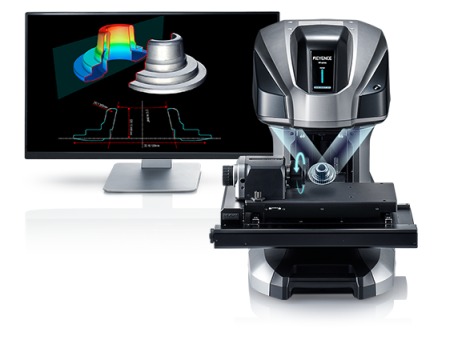
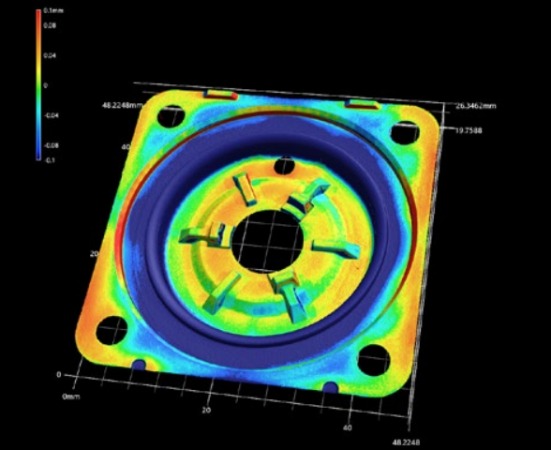
 Unlike traditional optical profiling systems that are hard to use and have material restrictions due to low dynamic range, the VR-6000 offers a simple place-and-press interface partnered with HDR scanning to capture highly-accurate data, even on glossy or matt surfaces. The HDR algorithm automatically determines optimum lighting conditions, adjusting brightness and focus, to offer a dynamic range that is 1000 times greater than conventional systems. Now any user, regardless of experience level, can obtain accurate and repeatable data on just about any type of material.
Rotational Scanning on a Wide Variety of Materials
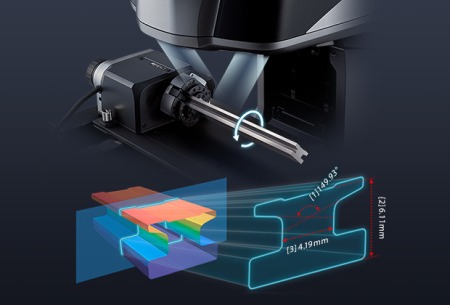
 A 3D profilometer can be used for a wide range of applications across multiple industries. Examples of materials that can be analyzed using a surface profiler include medical devices, jet engine turbine vanes, and valve trains found in automotive manufacturing. Using a 3D surface profilometer in these contexts allows accurate measurements of material thickness and detection of defects without the need for the instrument to come into contact with the object. Unlike conventional surface roughness profilometers, parts can be rotated to scan surfaces that would not be accessible otherwise.
Capture Full Surface Data With 0.1 µm Resolution in 1 Second
 In addition, entire surfaces can be scanned in as little as 1 second, leading to quicker turnaround times and overall improvements in prototype development and inspections. Users can quickly perform pass/fail inspections and can accurately compare data to a CAD file or other part scans.
The VR-6000 3D Optical Profilometer offers a measurement area up to 300 × 150 × 70 mm. Structured light is emitted from the transmitter lens and projected onto the surface of the object. The reflected light is detected by the receiver lens and will appear banded and bent based on changes in the topography of the surface. Triangulation is then used to calculate and measure the height of the surface.
Incorporating a large format, high-definition CMOS, low noise data is acquired across the entire field-of-view. RGB data is acquired for each pixel, providing excellent color imaging for surface inspection. To enable high-accuracy measurements throughout the field of view, the VR-6000 uses a telecentric lens with extremely low lens aberration. Objects can be captured as they actually appear and at their actual size, ensuring high measurement accuracy anywhere on the screen. A total of three large-aperture high-resolution lenses are mounted on the transmitter and receiver parts. With the advanced optical design, it is possible to acquire high-precision and high-definition measurement data at both low and high magnifications.
For more information: www.keyence.com
Tags: 3D Optical Profilometer Offers Built-In Motorized Rotation Unit, 3d vina, hiệu chuẩn, hiệu chuẩn thiết bị, máy đo 2d, máy đo 3d, máy đo cmm, sửa máy đo 2d, sửa máy đo 3d, sửa máy đo cmm
