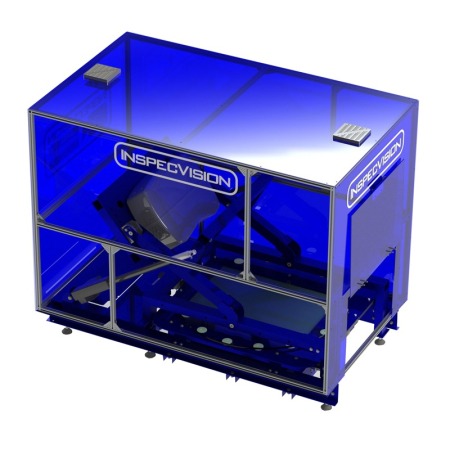
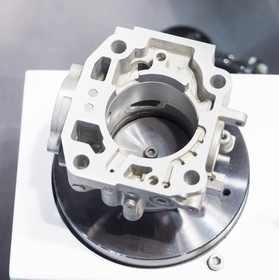
InspecVision offers its Opti-Scan 3D inspection system providing single-click 3D white light scanning metrology for edges, surfaces and reverse engineering. Opti-Scan 3D can scan objects at a rate of about 250,000 measurements per second. The accuracy of the surface measurements is approximately 100μm and 25μm for edge measurements depending on the model. The system uses a high speed, high resolution industrial camera and an LED DLP projector to scan the surfaces of an object and can measure any 3D part up to 75kg. It also has a flexible scanning area with a free-standing unit for heavier parts.
3D Edges
 A back-light table is used to capture the silhouette of the part. This silhouette image are converted into 3D edge measurements using patented Planar Edge 3DTM technology. 3D edges are essential when measuring sheet metal parts as the critical features such as hole size and position are defined by the part’s edges, not it’s surfaces. Typically 3D scanners can acquire measurements of surfaces but are not as effective at acquiring measurements of edges.
InspecVision claims the Opti-Scan is the only system in the world which can accurately measure surfaces and edges in 3D. Each scan can contain up to 40 million edge measurements and 20 million surface measurements.
Single Click Inspection
 InspecVision achieve high levels of automation by adding a rotational table and tilting mechanism. This arrangement creates a viewing hemisphere which allows scans to be acquired from all visible surfaces of the component. The rotational table has a ring of reference markers which locate the table relative to the scanner resulting an unprecedented level of accuracy and automation. The system can inspect most 3D parts by simply placing the part on the table and scanning a bar code, or clicking a button.
Mobile Large Volume Scanning
The Opti-Scan can also be used as a portable 3D scanner by placing the scanning head on a tripod. Large objects can be measured by attaching repositioning markers to the surface of the part or to a measuring bench or area. These markers are then used to automatically stitch the scans together. In this configuration almost any size of object can be measured.
Opti-Scan systems use at least 20MP cameras and allow Opti-Scan 3D to capture object texture and geometry; color cameras are also available.
For more information: www.inspecvision.com
Tags: 3D Imaging Technology Measures Part Surfaces and Sharp Edges, 3d vina, hiệu chuẩn, hiệu chuẩn thiết bị, máy đo 2d, máy đo 3d, máy đo cmm, sửa máy đo 2d, sửa máy đo 3d, sửa máy đo cmm
